Login to Lync 2013 Client (Skype for Business) and testing Lync functionality
In our last post we learned “How to Install or Update Lync Server System”. In this article, we will test the Lync basic functionality like logging into Lync Client, Instant Messaging, Presence status, Audio call test etc.
The first and the foremost step is, we will create two user accounts in LDAP directory (Domain Controller). We will use these two accounts for Lync testing.
Creation of two user accounts in LDAP Directory:
- Login into Domain Controller\Certificate Authority Server
- Go to Run > Type “dsa.msc” without quotes
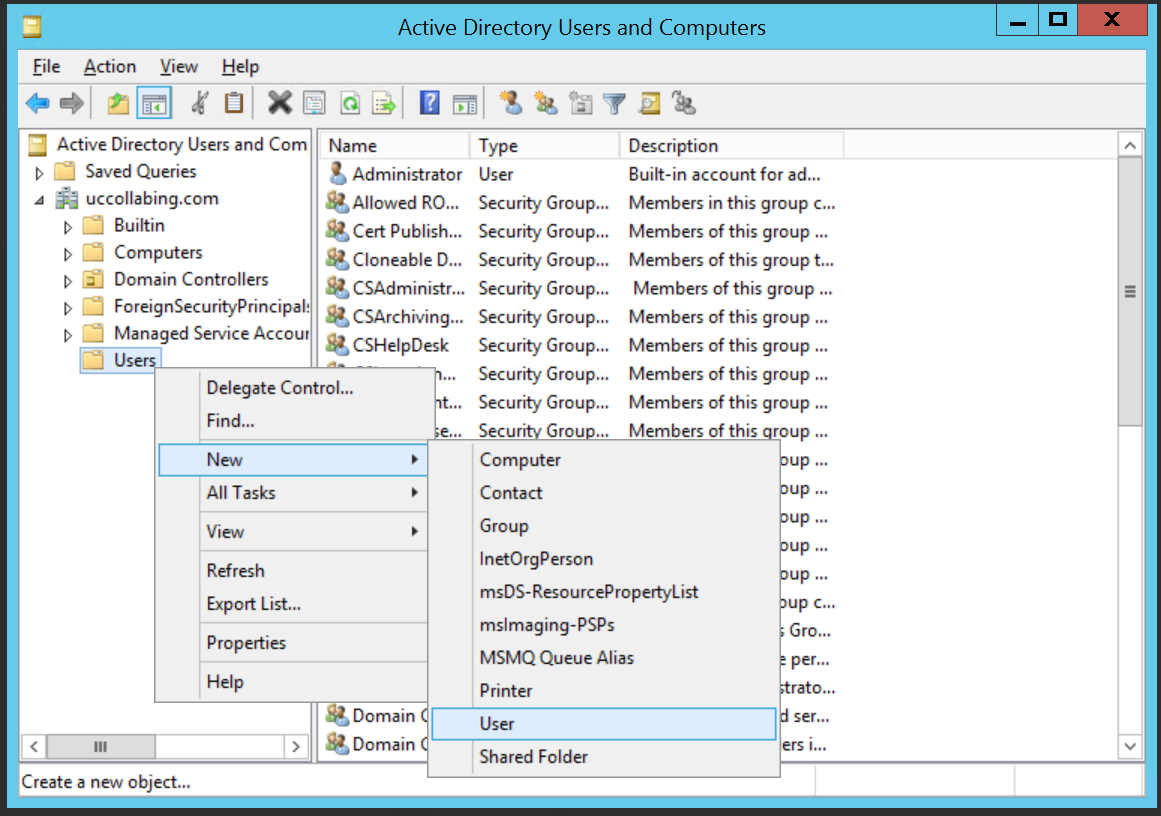
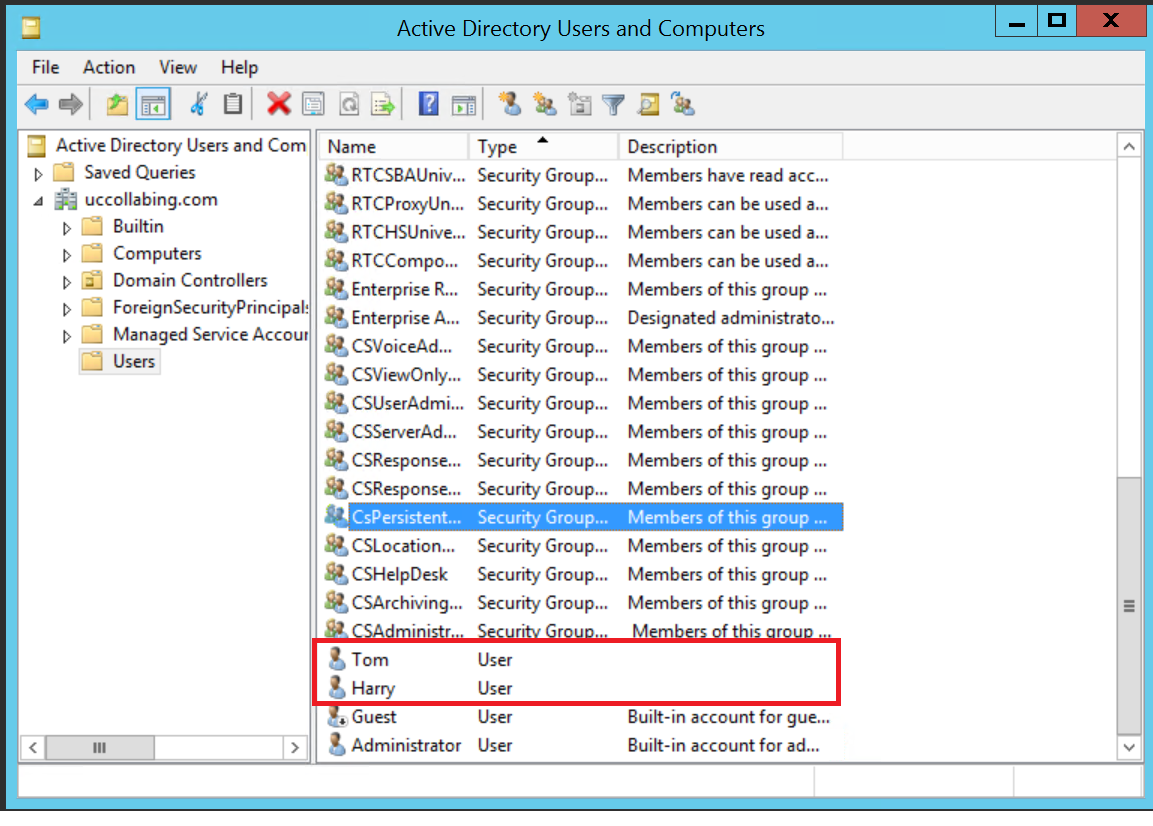
- Expand “domain.com”, in our case it is “uccollabing.com” > Users >
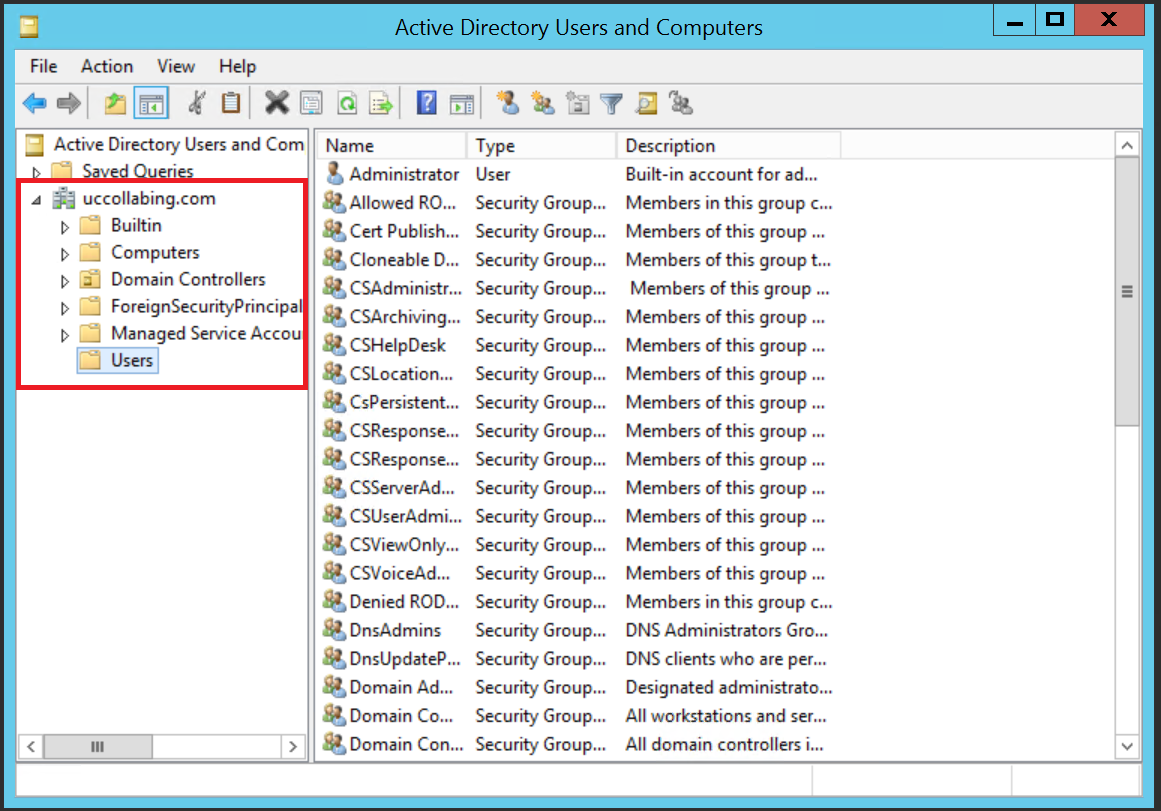
- Right Click Users > Click on New > Click on User

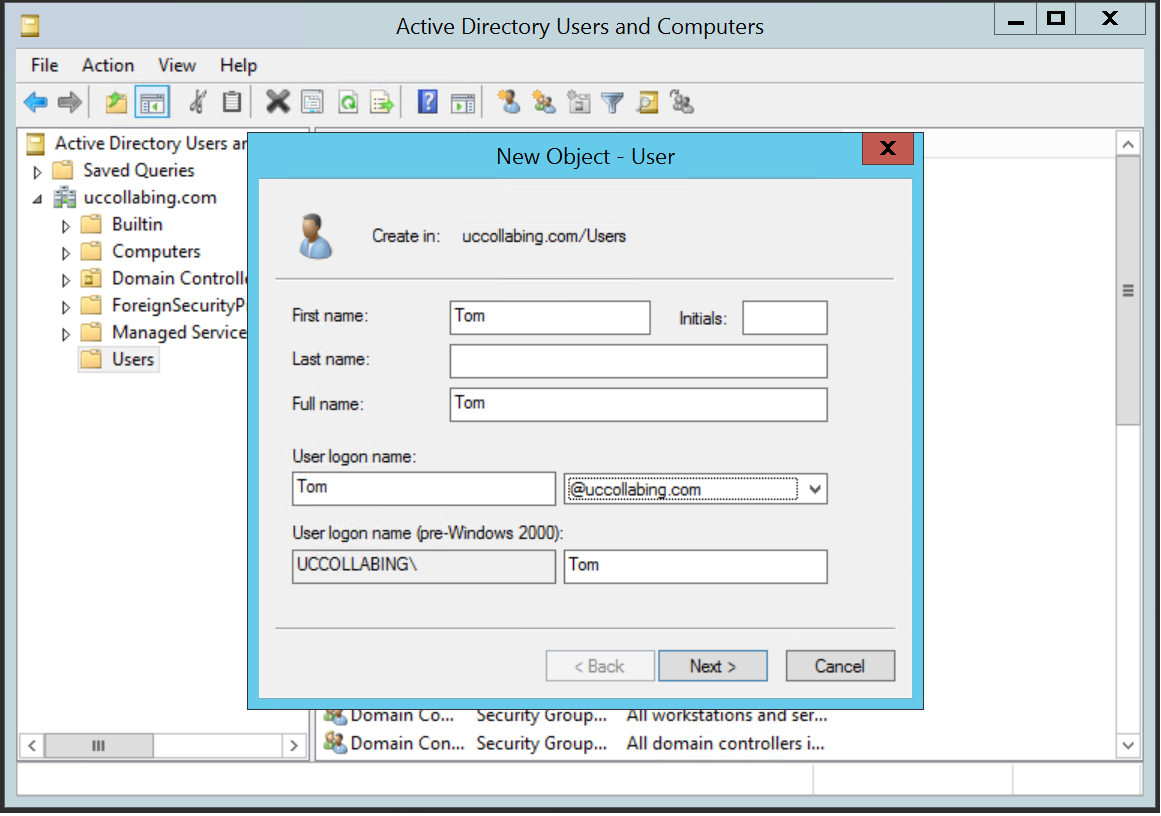
- Enter First Name, Last Name, User Logon name and click on Next

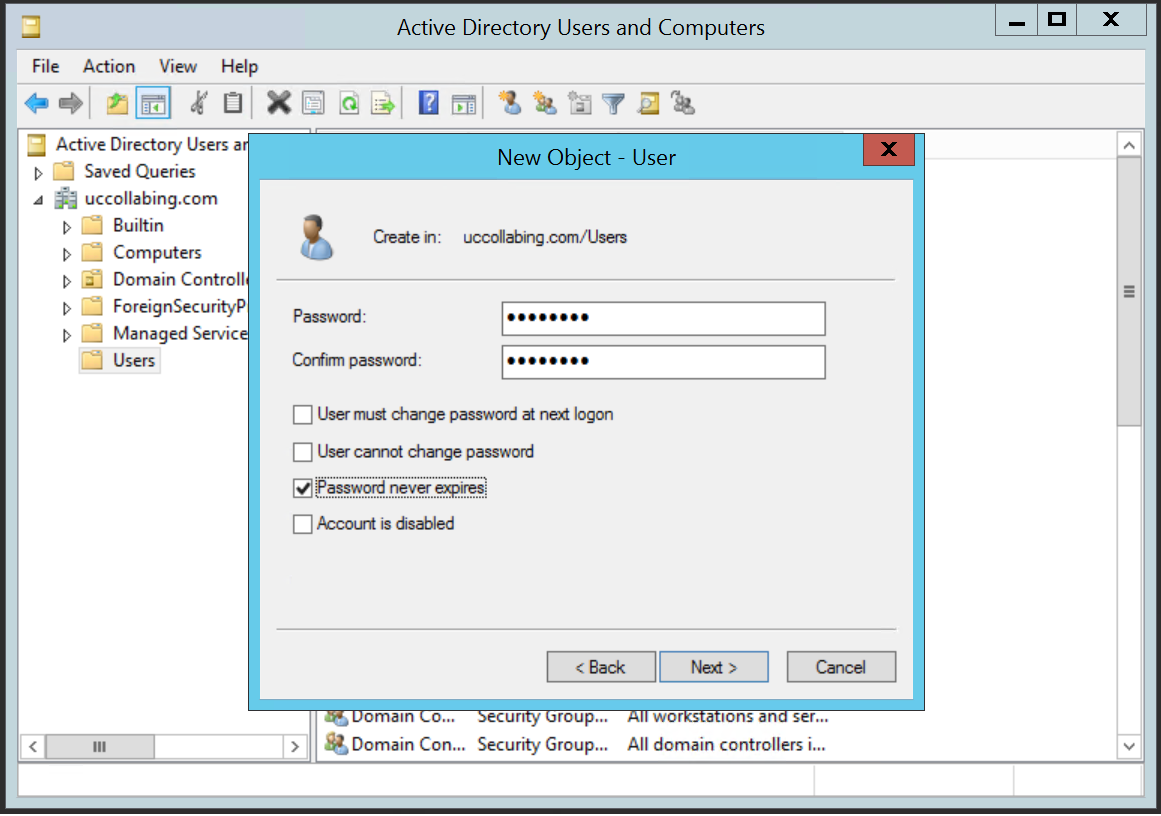
- Enter Password and Confirm Password and click on Next and click on Finish

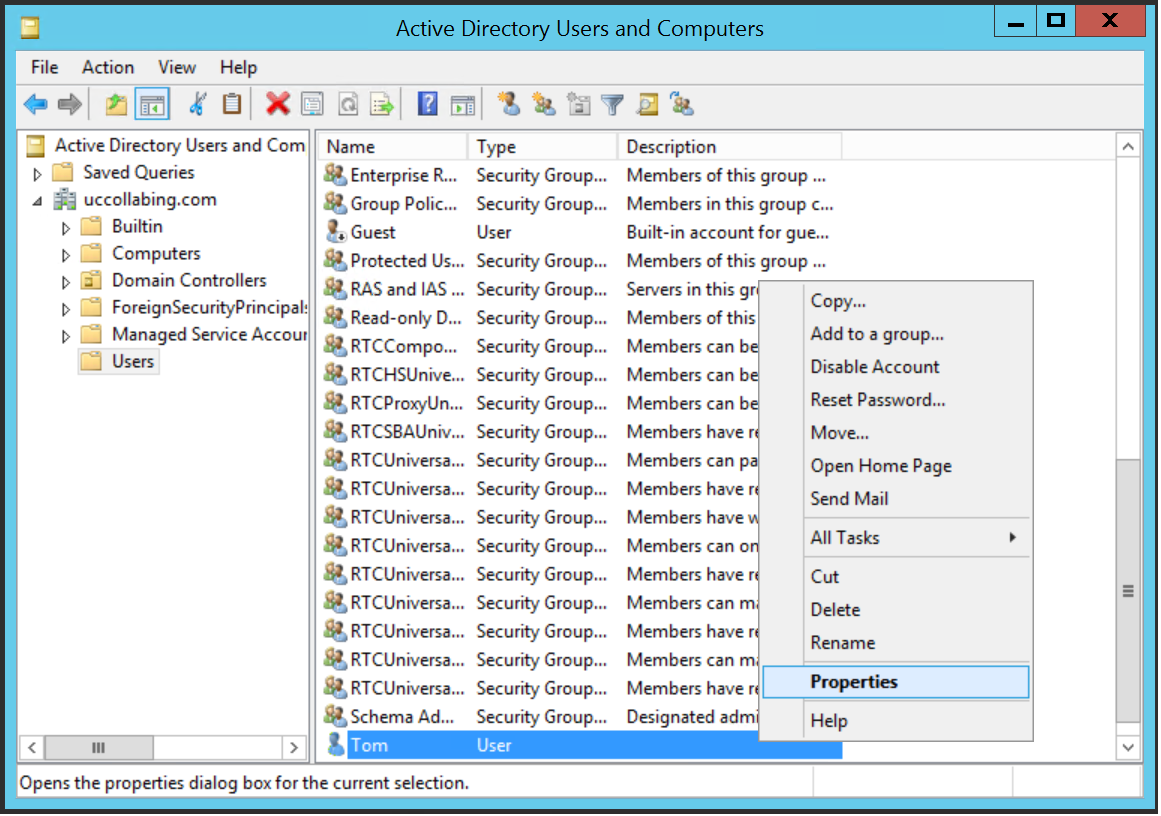
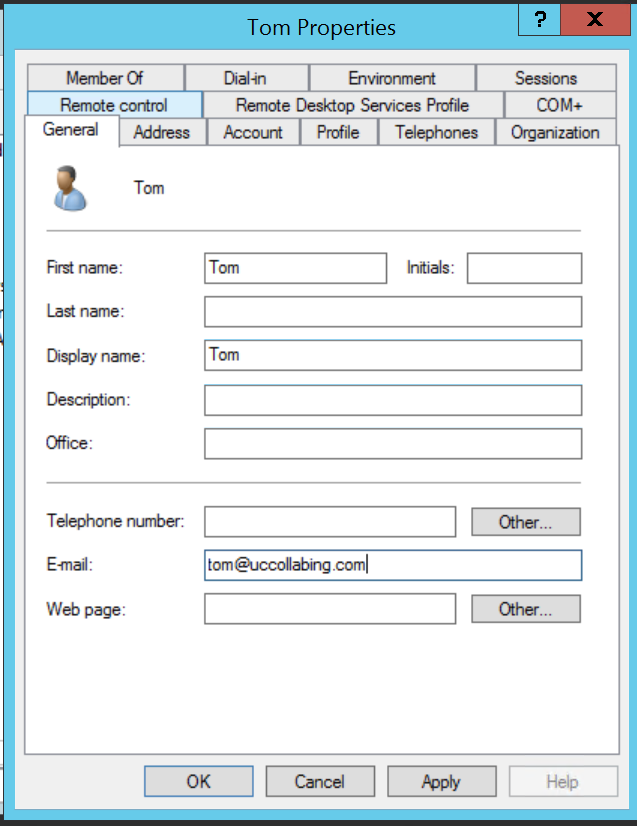
- Once the user “Tom” is created, Right Click the user and click on Properties

- Enter E-mail (required) and Telephone number (optional for now) and Click on Apply and OK

- Follow from Step 4 to Step 8 and create another user. In our case, we will create another user as “Harry”.

Importing the users into Lync Server 2013 Control Panel:
We are done with the user creation. Now we need to import these two users in Lync Server 2013 Control Panel.
- Login to Lync Server 2013
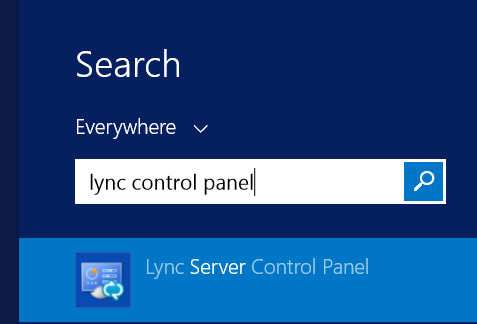
- Search for “Lync Server Control Panel” without quotes and Launch the Lync Server Control Panel

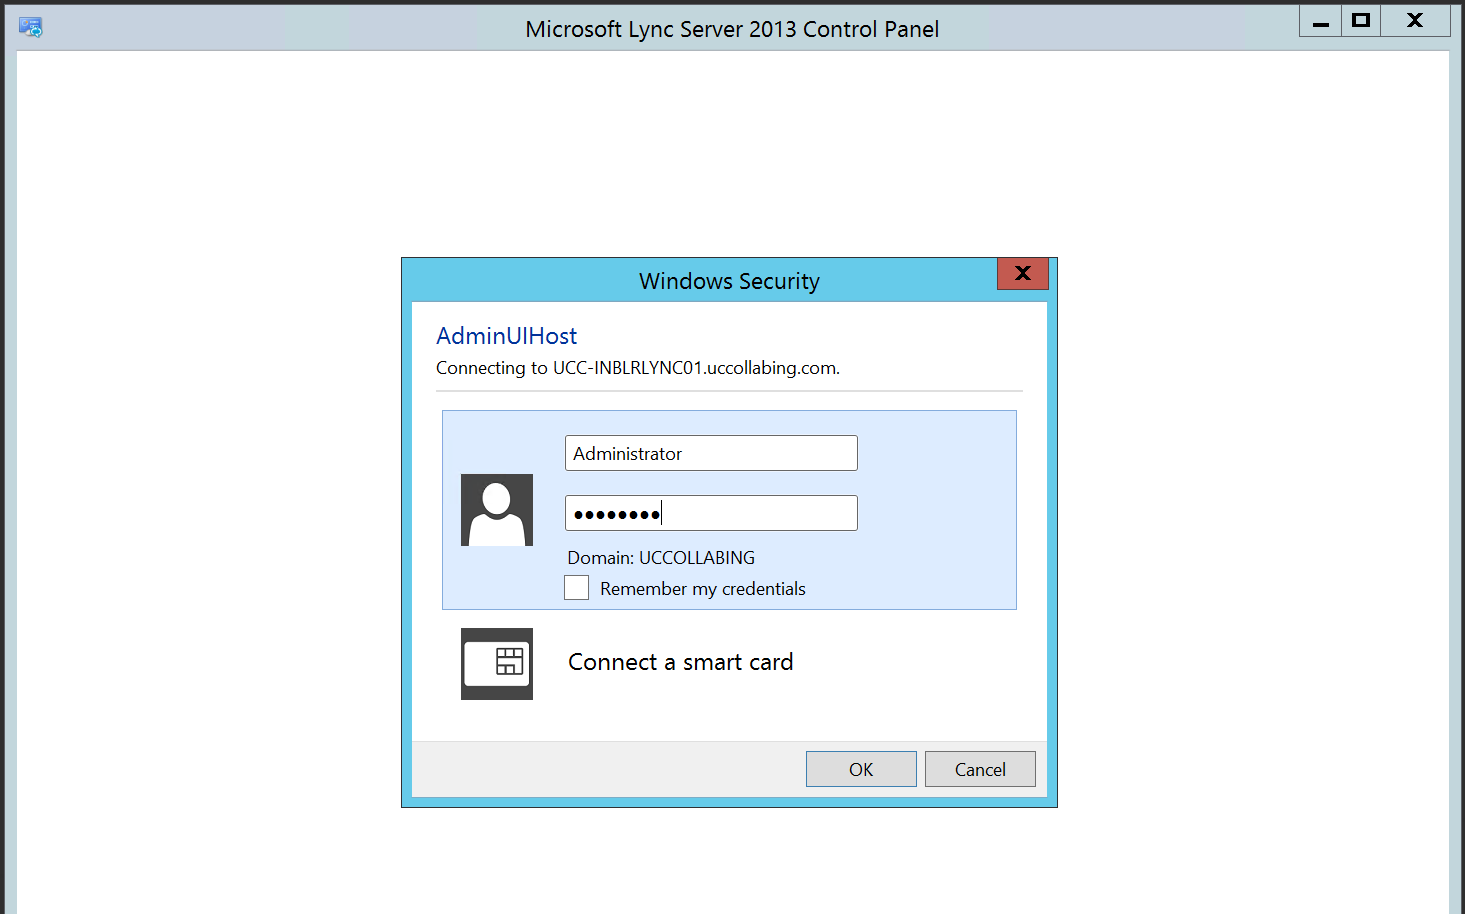
- It will prompt you for Username and Password. Enter the Administrator Username and Password and click on OK

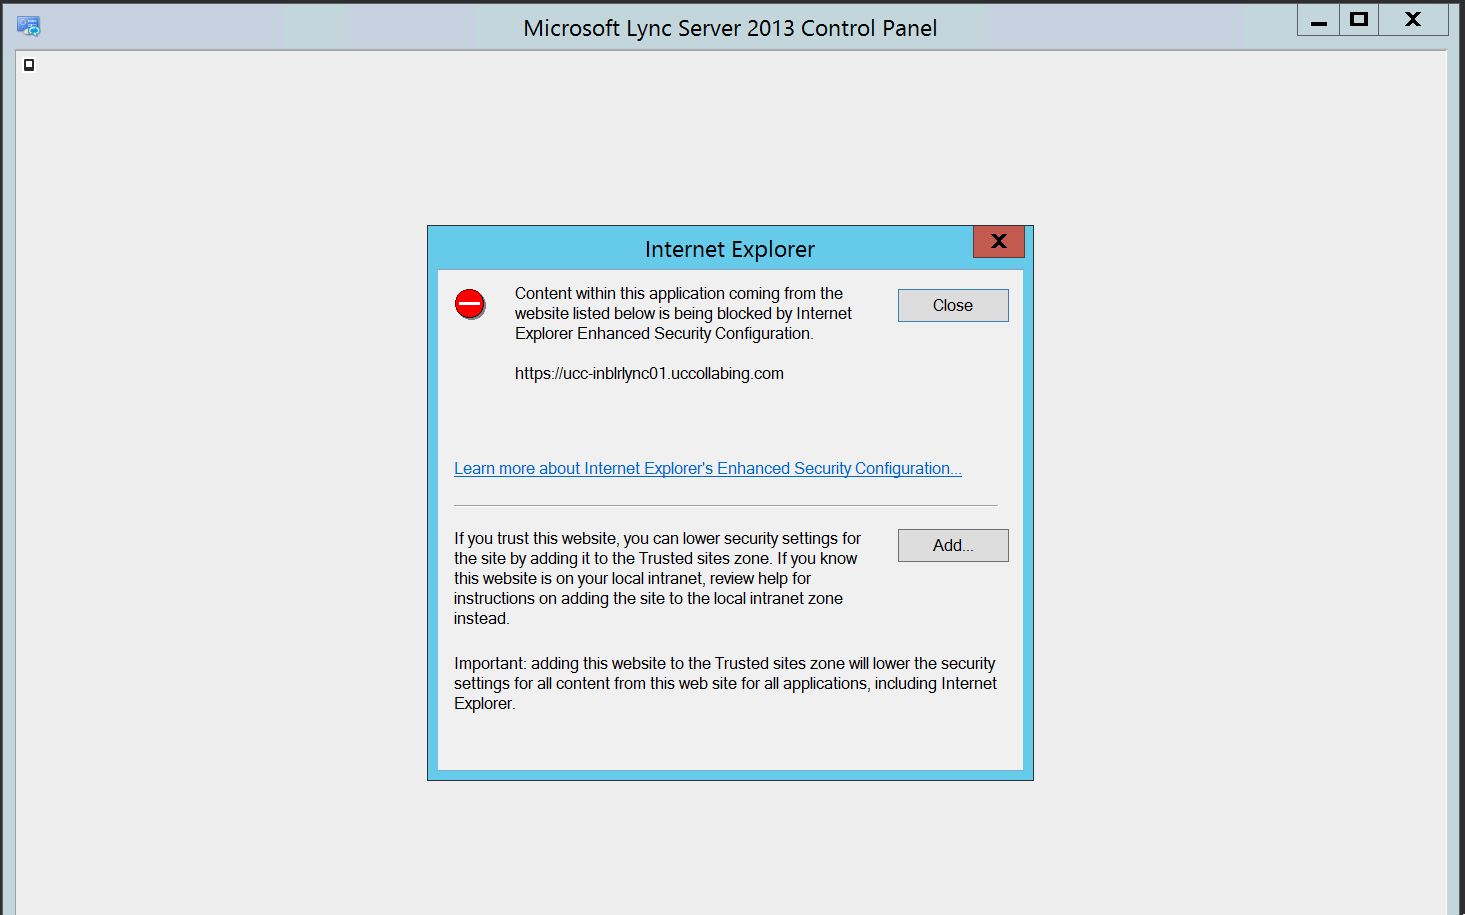
- Now it’s time to add Lync Server to the Internet Explorer Trusted websites. Click on Add

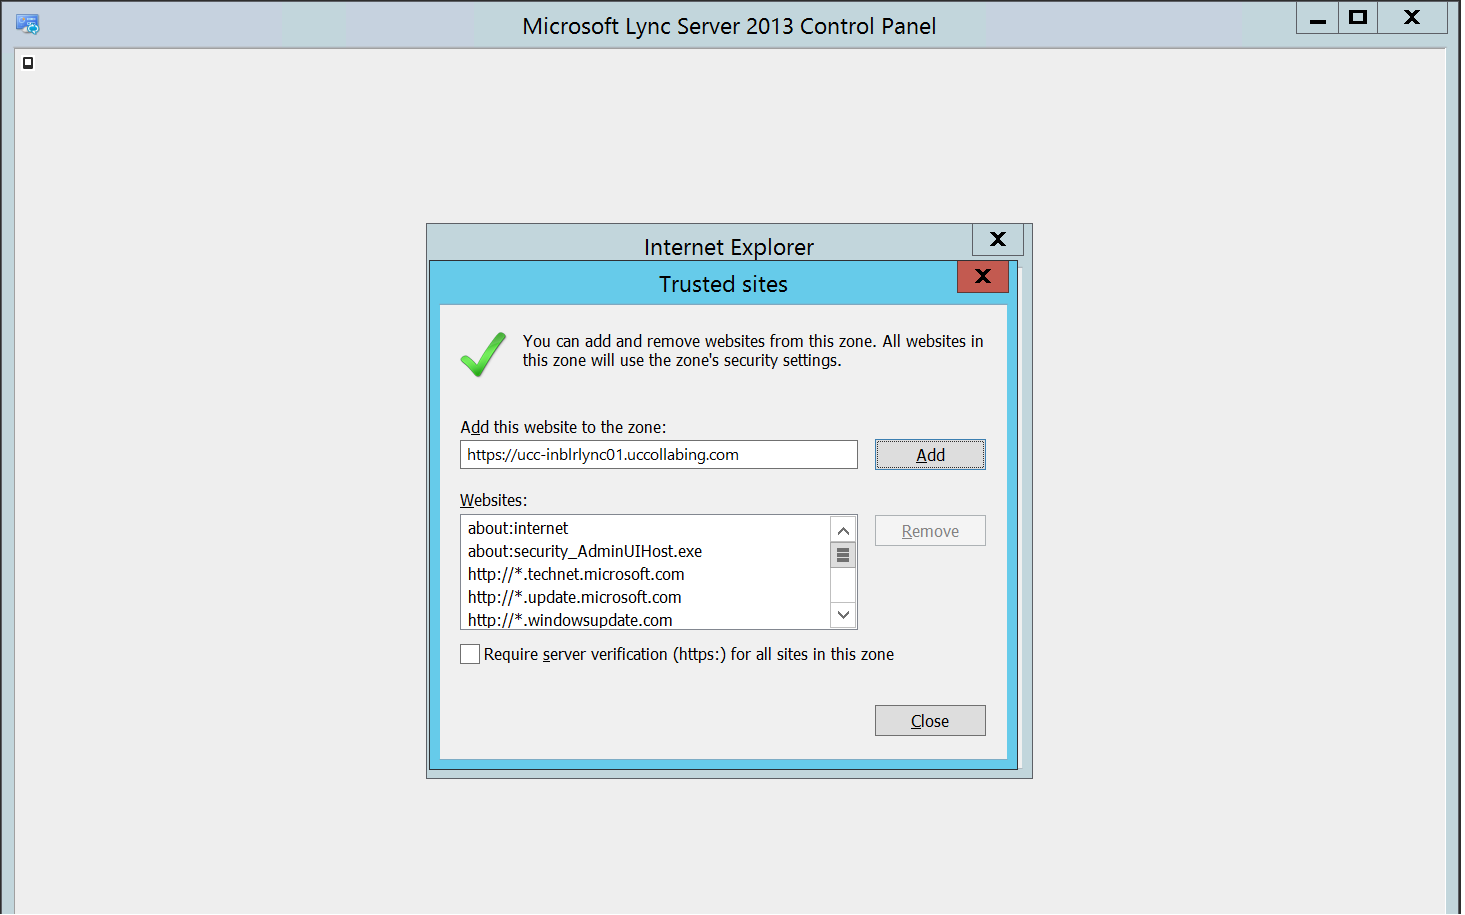
Click on Add again and then Click on Close
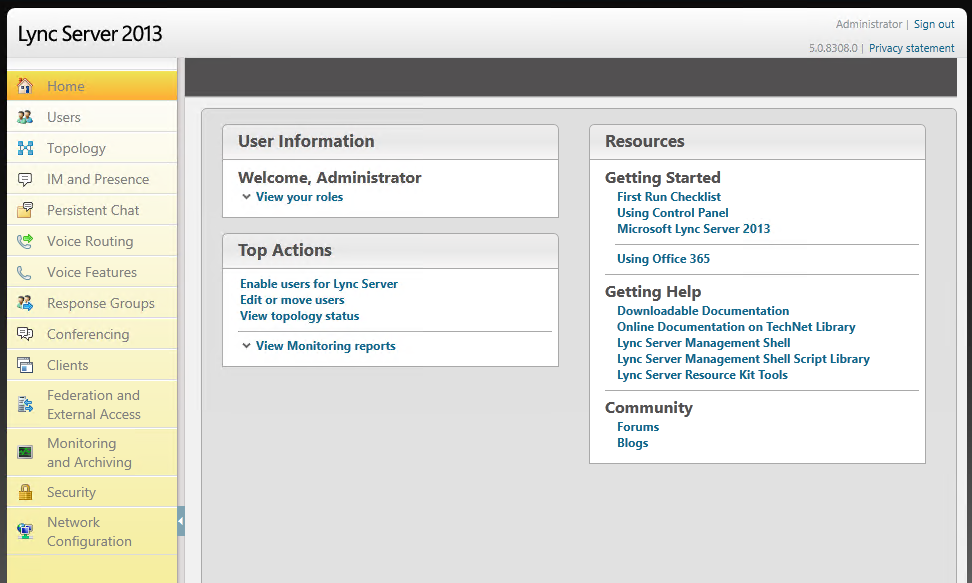
- You will be able to see “Lync Server 2013 Control Panel”

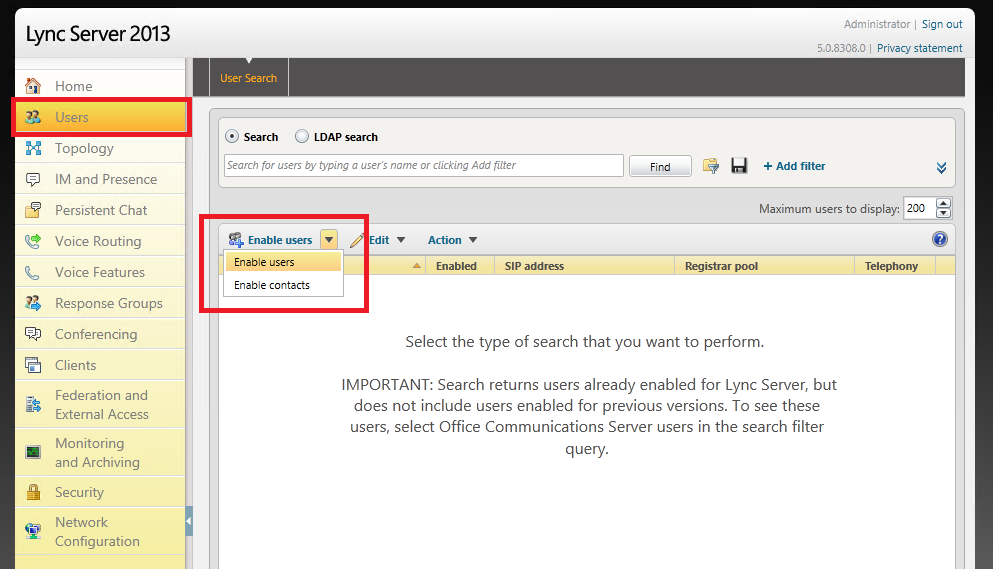
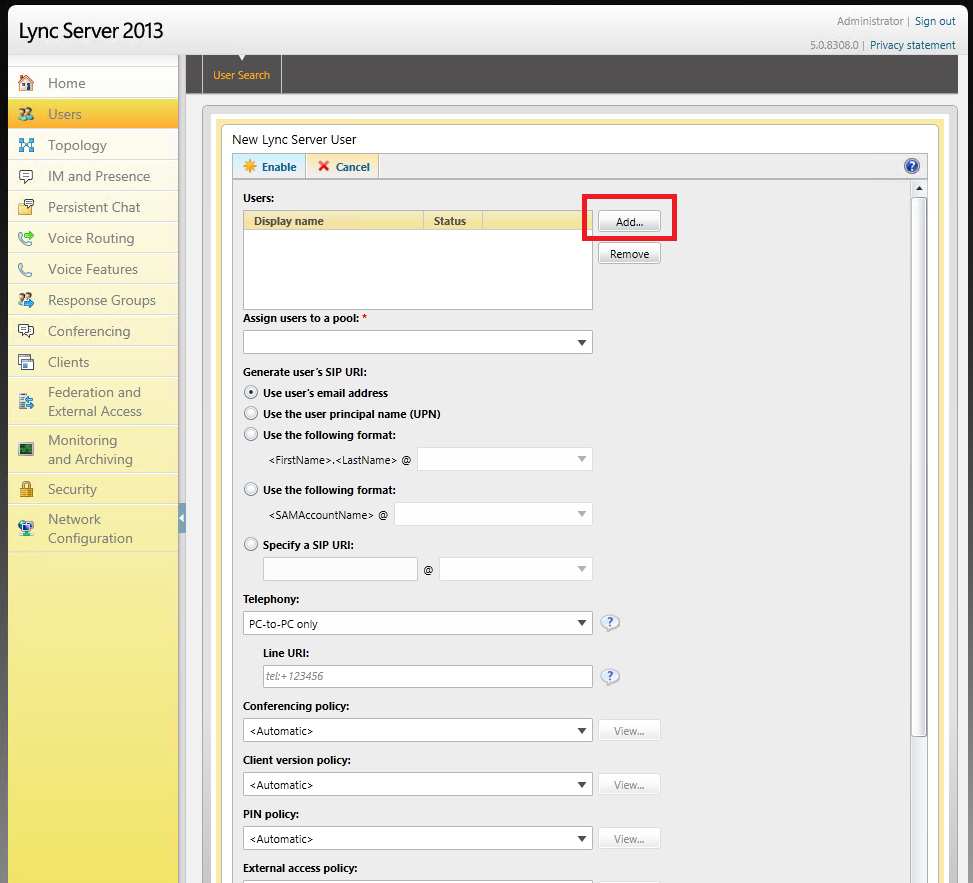
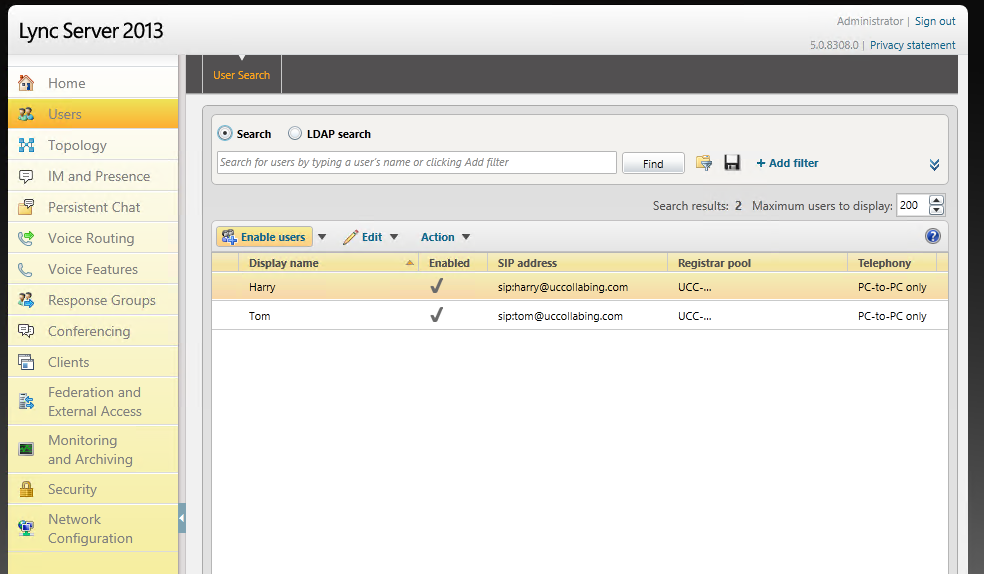
- Click on Users > There will be a down arrow next to Enable Users, Click on the down arrow and then Click on Enable Users

- Click on Add

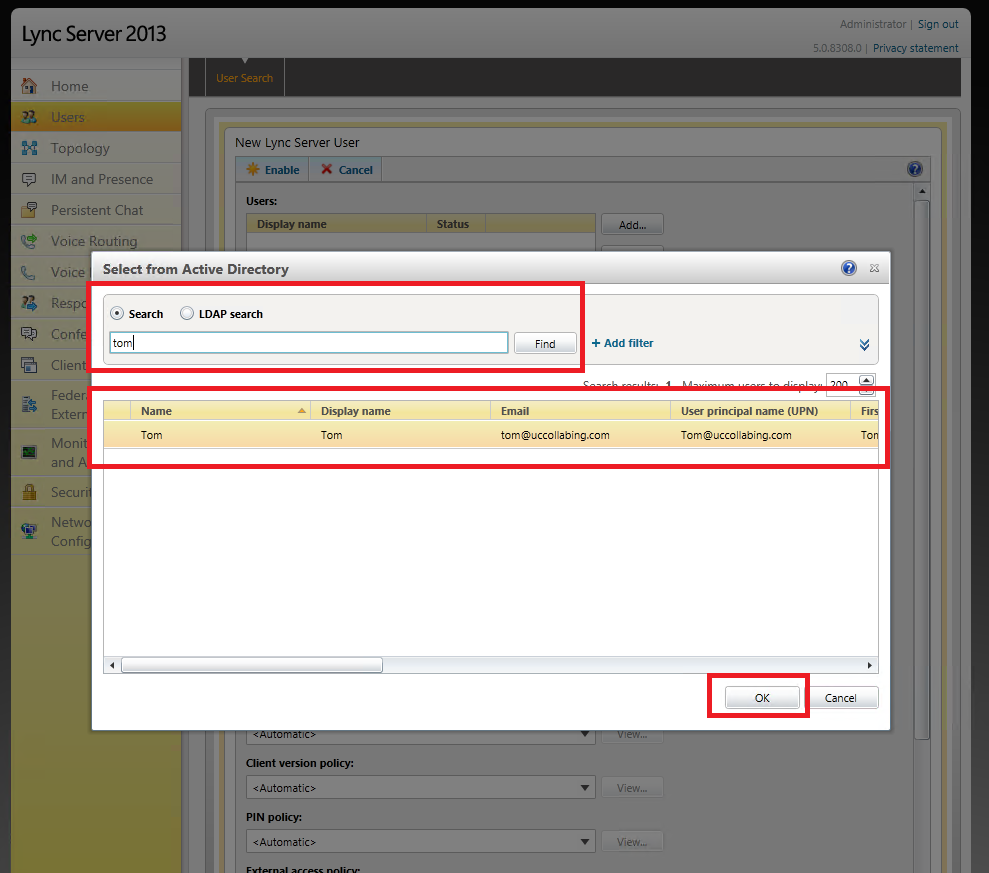
- Search for the user “Tom” and click on Find
- Select the found user “Tom” and click on OK

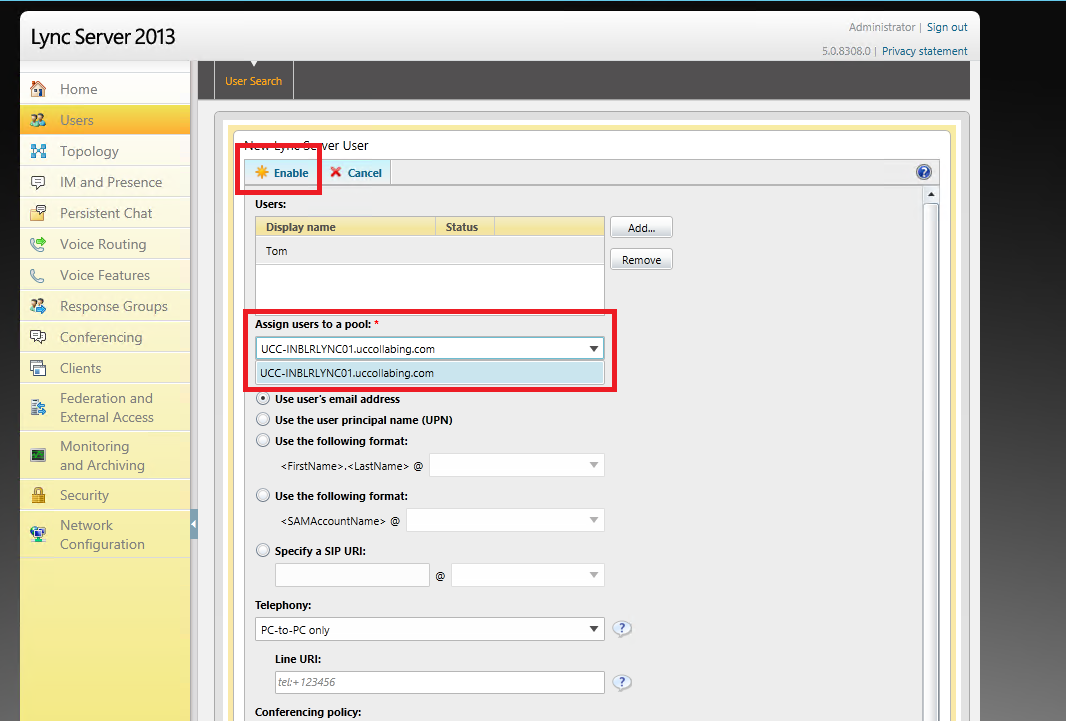
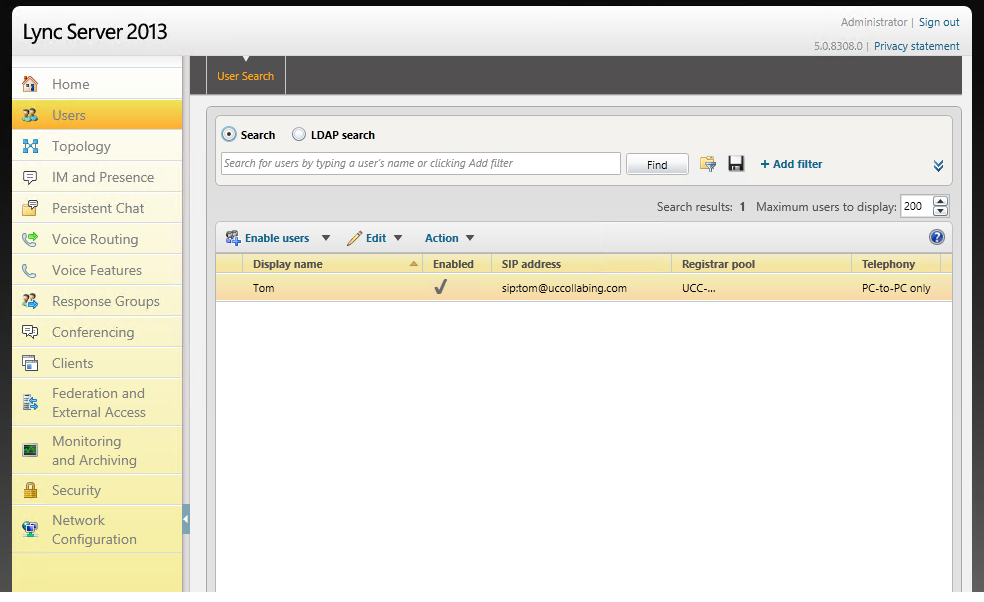
- Click on the drop down menu “Assign users to a pool” and select the Lync Server FQDN and click on Enable


- Now similarly add another user “Harry”. Follow the Step from Step 6 till Step 10.

Testing Lync 2013 Client Login:
Now it’s time to login these users into Lync Client. You will have two Windows 7 PC.
- Windows 7 – PC 1 – Login with the user account Tom into the Windows Machine
- Windows 7 – PC 2 – Login with the user account Harry into the Windows Machine
Let us login to Windows 7 – PC 1 first – It’s Tom’s machine
- Let’s take a remote control of the PC
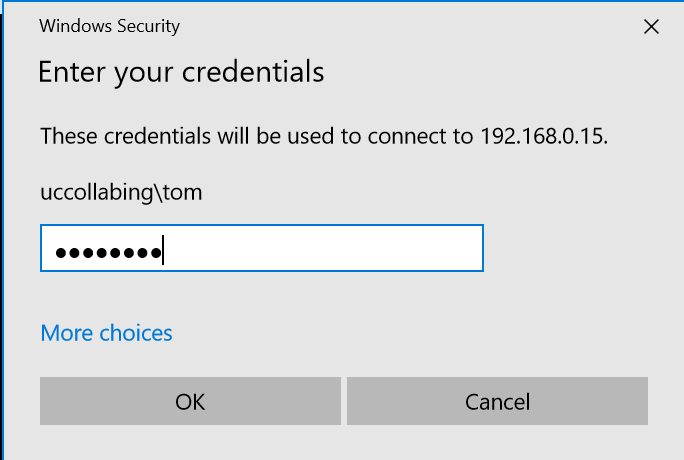
- Enter Tom’s domain username and password and click on OK

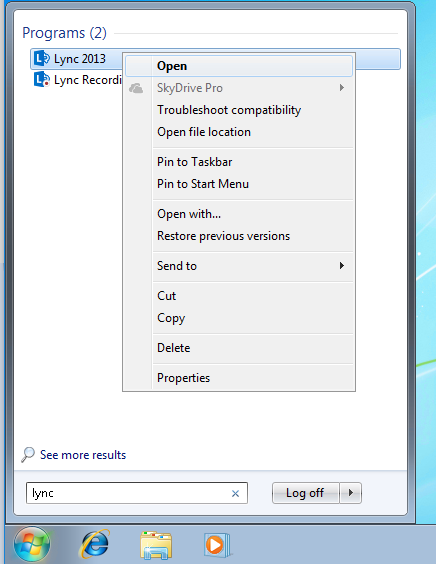
- Click on Windows – Search for “Lync” without quotes – Right Click on “Lync 2013” and Click on Open

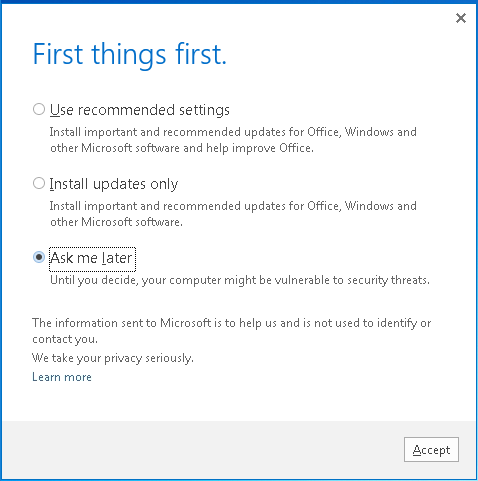
- Radio Check “Ask me Later” and Click on Accept

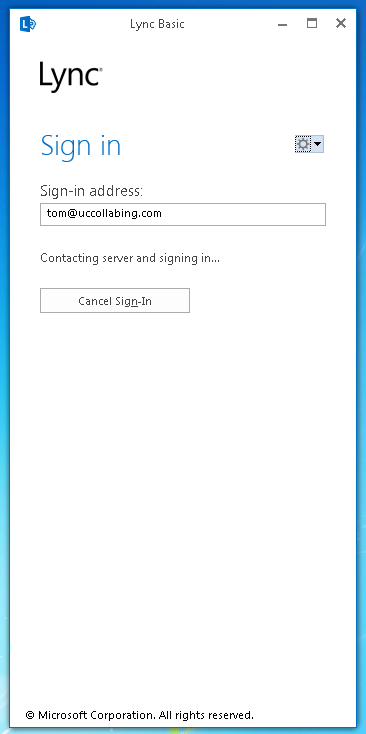
- Lync Client will try to log you in

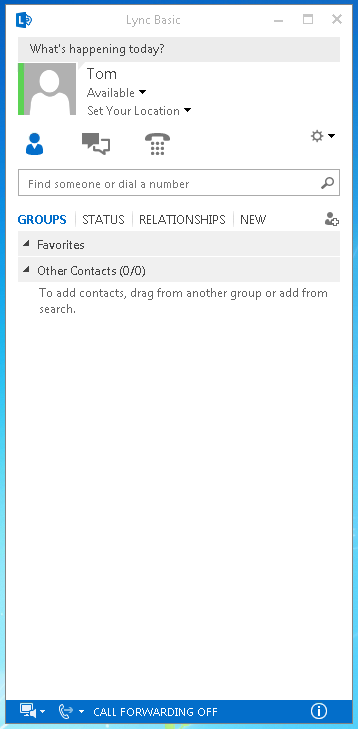
Phewww!! You are logged in automatically without entering Username and Password
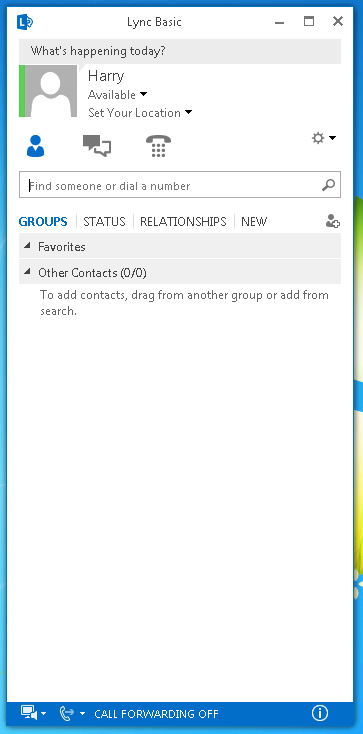
- Now repeat the same process for another user “Harry”. Follow from Step 1 till Step 5.

Yay! We have logged both the users in. Now it’s time to do some basic testing. Testing beings!
Test 1 – Presence Status
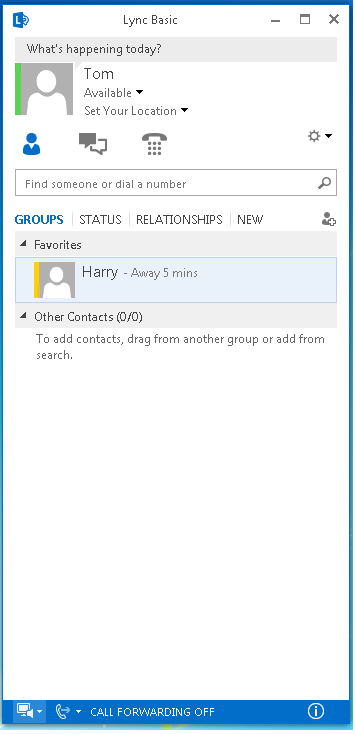
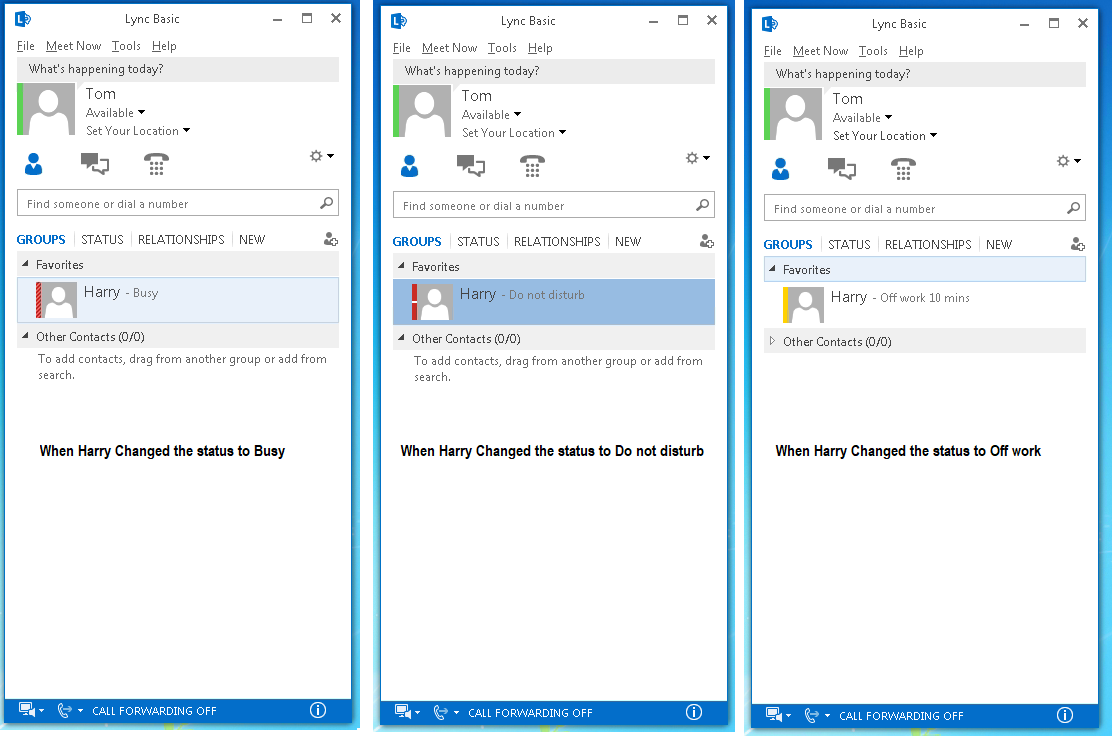
Let’s lock Harry’s PC by pressing CTRL + L and check the presence status of Harry in Tom’s Lync Client.
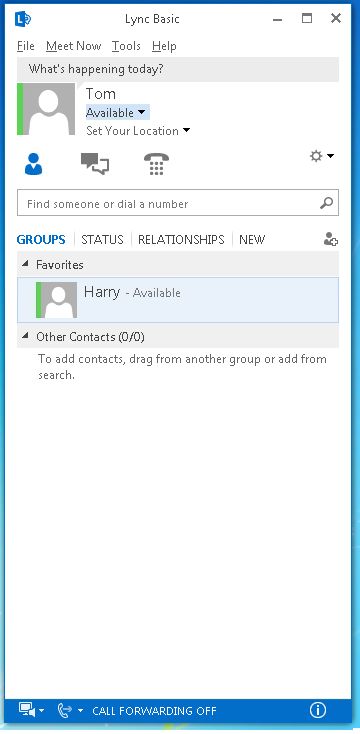
When Harry unlocks the PC and the status of Harry becomes Available in Tom’s Lync Client.
Test 2 – Instant Messaging (IM)
Harry is sending an IM to Tom
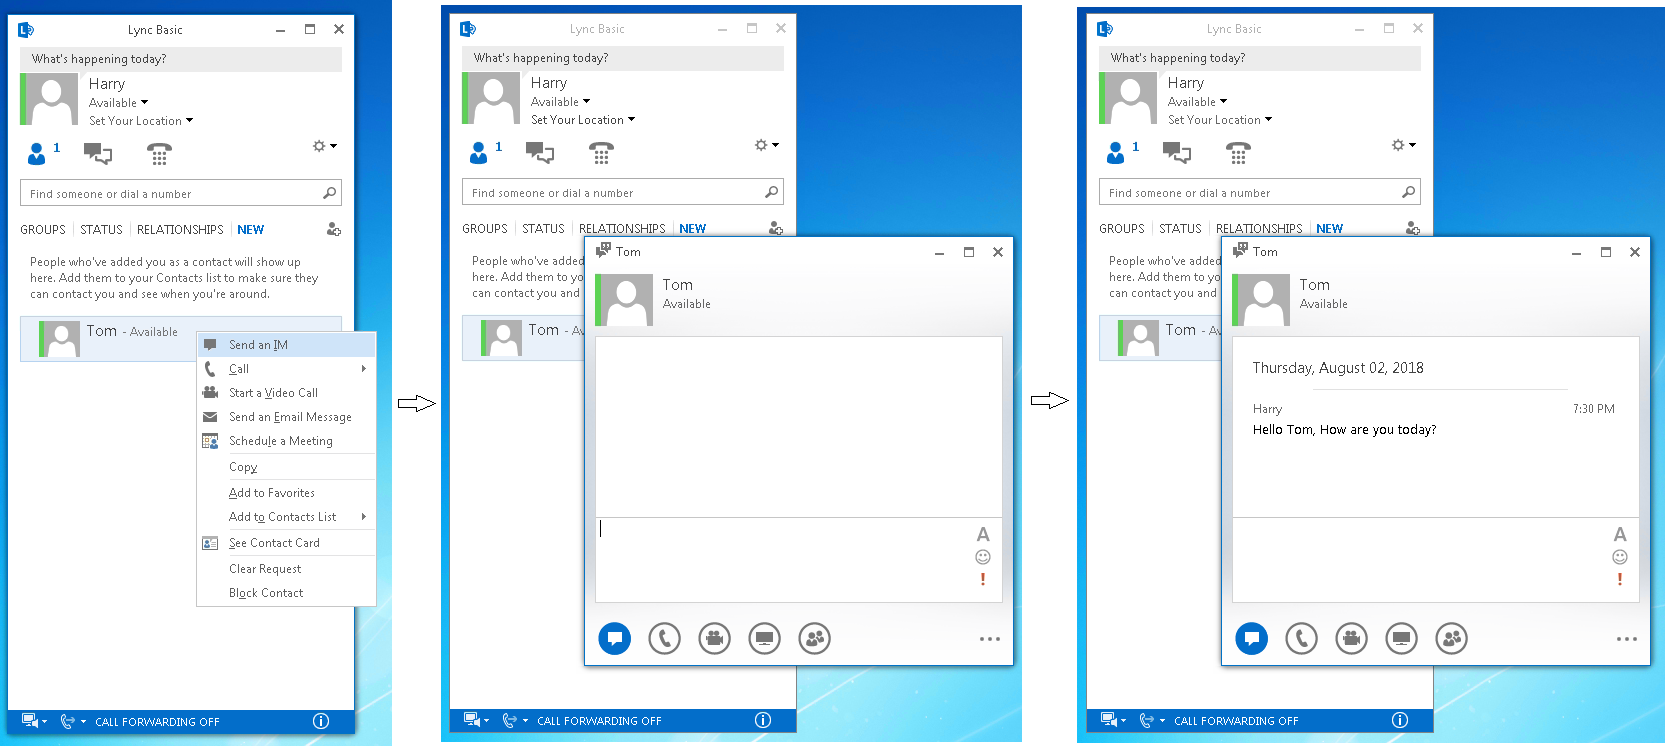
When Tom receives the IM from Harry
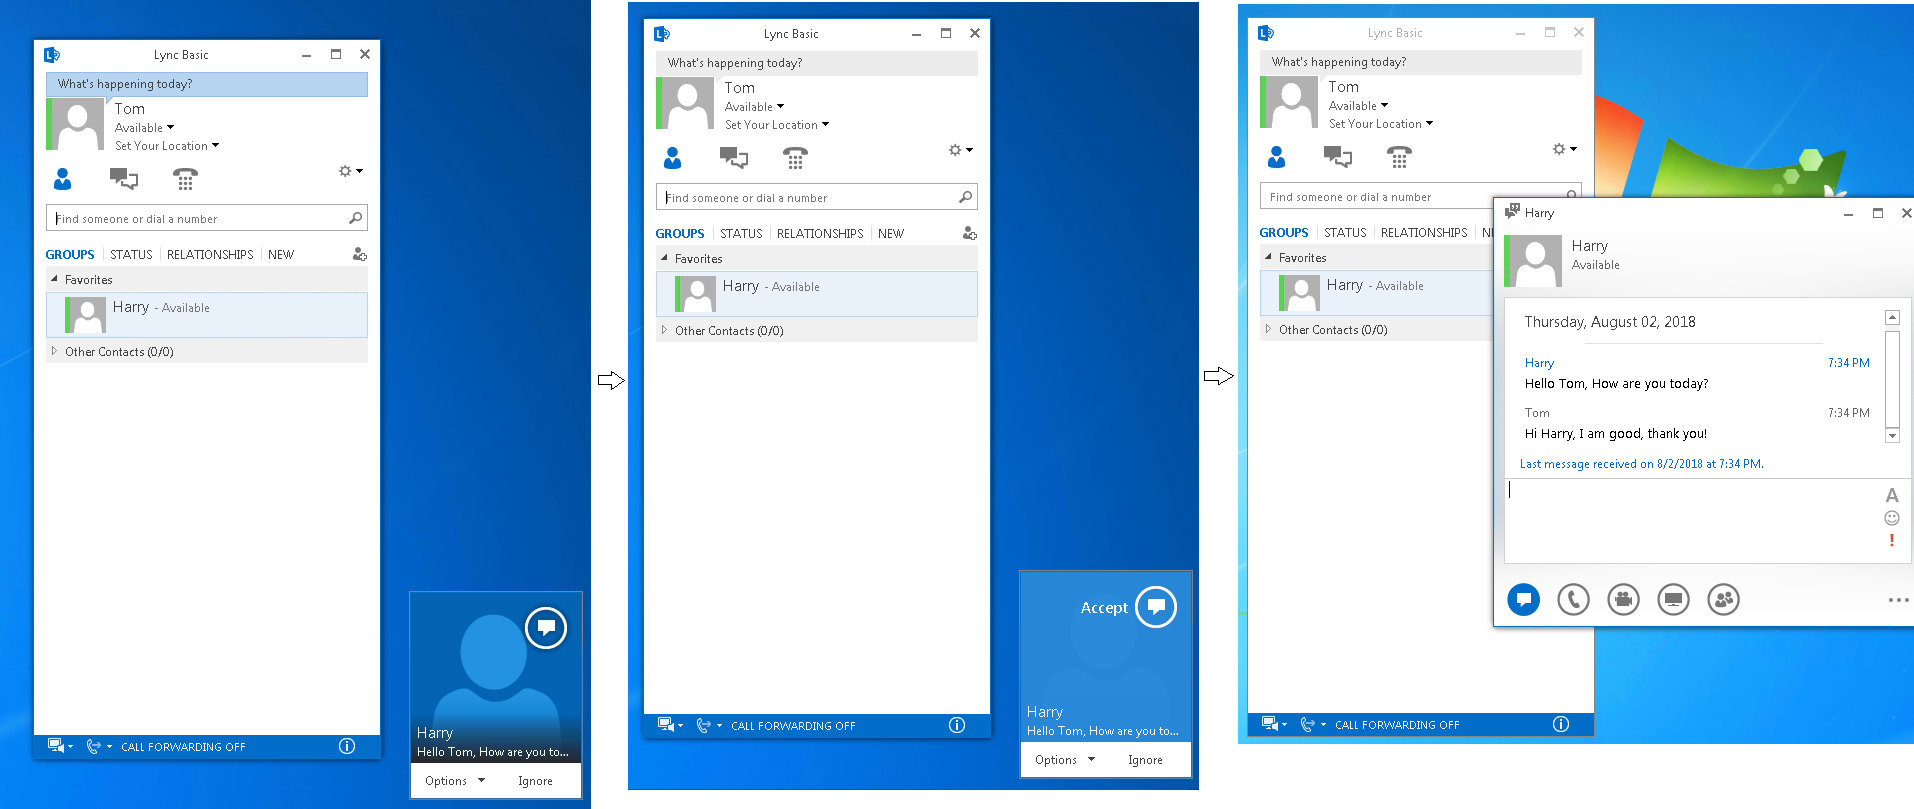
Test 3 – Calling Feature
Harry is making a Lync call to Tom
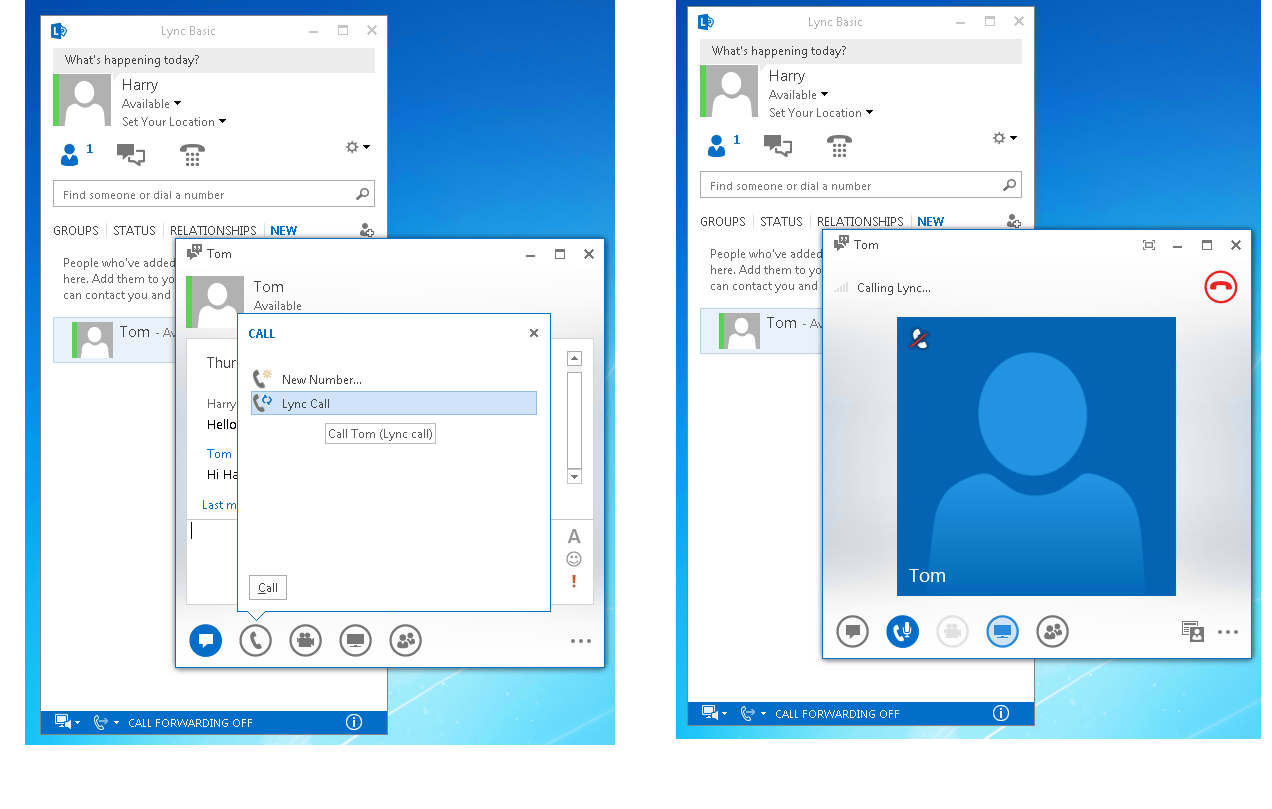
Tom will answer the call made by Harry
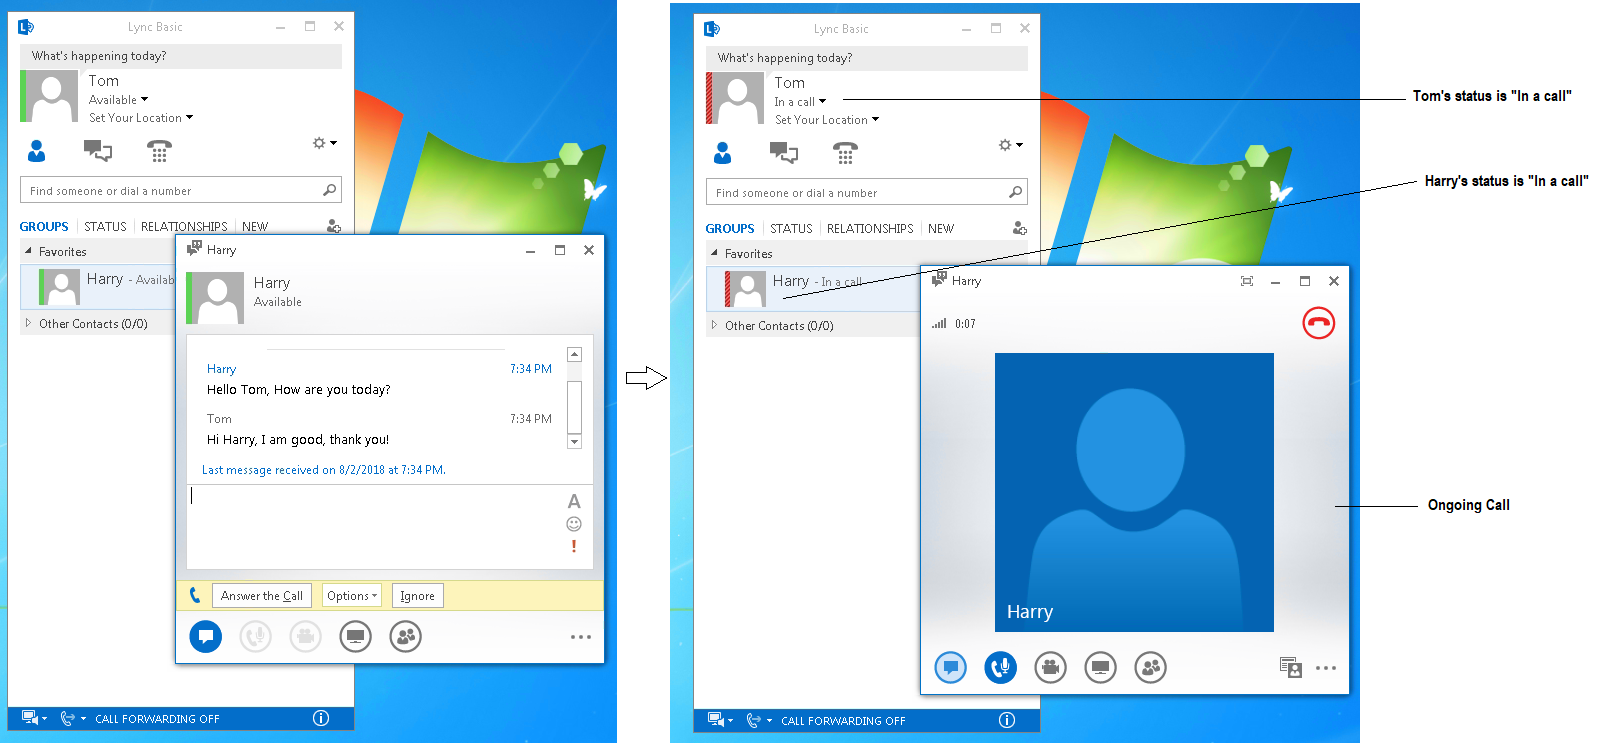
There are many other test which can be done like Desktop Sharing, Program Sharing, Powerpoint Shring, Whiteboard, Video Call, Making Conference Call, Scheduling a Meeting, Joining Meeting etc. which we have not intended to covered.
I hope this has been informative!
Go back to – Step by Step Lync Server 2013 Installation & Configuration

I am working in an IT company and having 10+ years of experience into Cisco IP Telephony and Contact Center. I have worked on products like CUCM, CUC, UCCX, CME/CUE, IM&P, Voice Gateways, VG224, Gatekeepers, Attendant Console, Expressway, Mediasense, Asterisk, Microsoft Teams, Zoom etc. I am not an expert but i keep exploring whenever and wherever i can and share whatever i know. You can visit my LinkedIn profile by clicking on the icon below.
“Everyone you will ever meet knows something you don’t.” ― Bill Nye

Isnt OC/Lync/Skype4Business being killed off this summer, 2021?