Installing Lync Server 2013 – Preparing Active Directory Wizard
In our last post, we learned “How to configured DNS records for Lync Server 2013“. In this article we will begin with Lync Server 2013 installation. The installation is also divided into 4 parts as follows:
- Installing Lync Server 2013 – Prepare Active Directory (this article)
- Installing Lync Server 2013 – Prepare first Standard Edition server & Install Administrative Tools
- Installing Lync Server 2013 – Building up Topology
- Installing Lync Server 2013 – Install or Update Lync Server System
Preparing Active Directory for Lync 2013 Server:
In this article article we will begin with our first part i.e., “Prepare Active Directory”. Let’s begin:
- Login to Lync Server 2013.
- Make sure that Lync ISO is mounted to your CD\DVD drive or make sure the Lync installation files are copied into a folder. In our example, we have mounted Lync 2013 Server ISO to D:\ Drive.
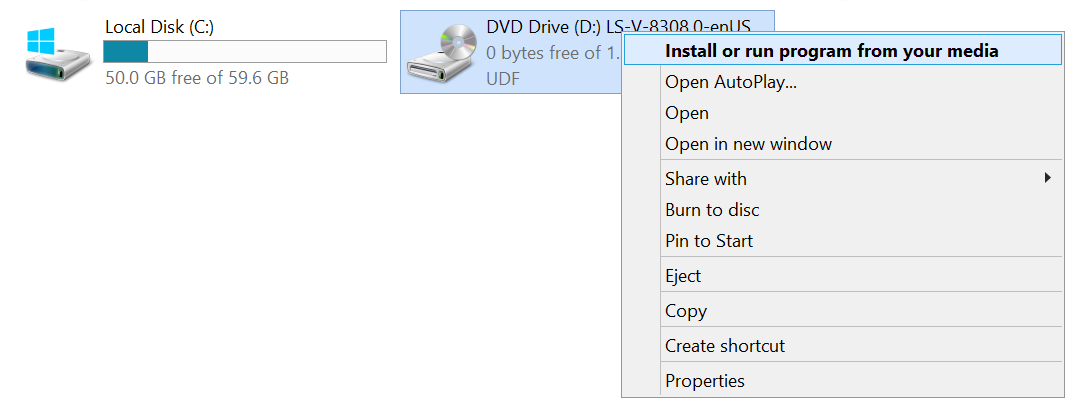
- Launch My Computer, Right Click CD\DVD drive and click on Install or run program from your media
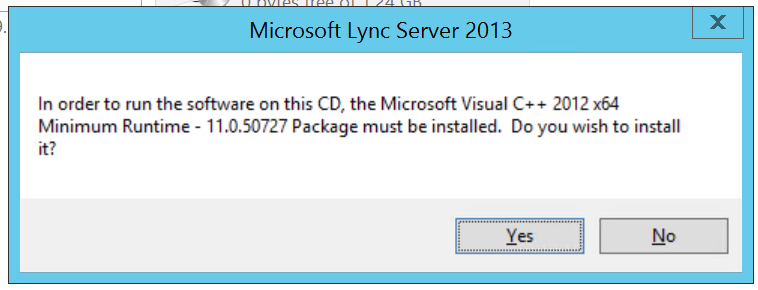
- Click on Yes when prompted to install Microsoft Visual C++ 2012 x64 Minimum Runtime.

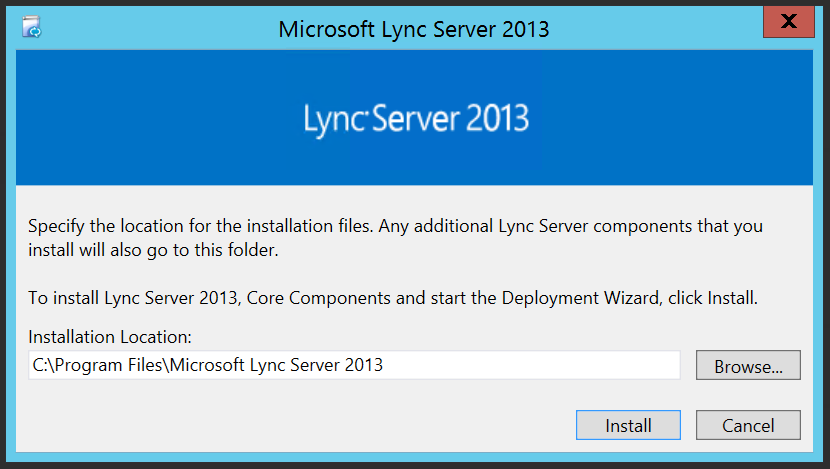
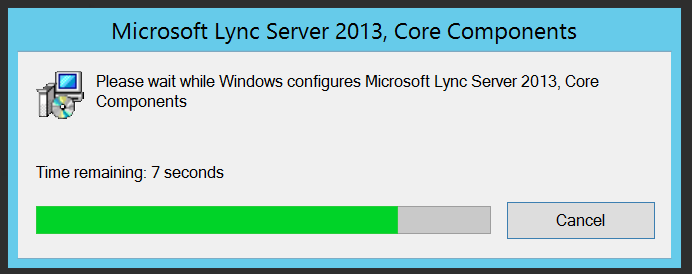
- Specify a location where you would like the installation files to be done and click on Install. (In our example, we will leave the installation location as default and click on Install). Click on Install.

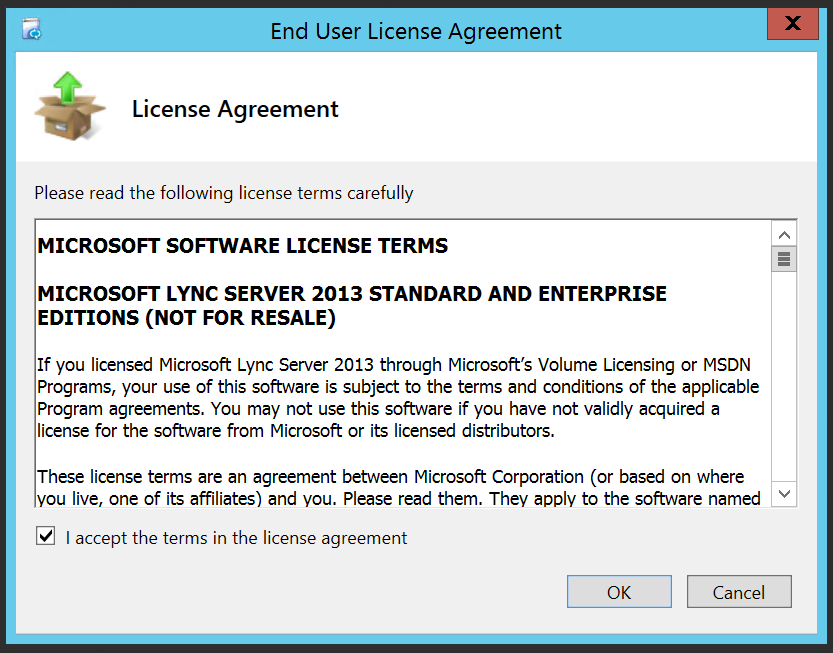
- End User license Agreement – Check Mark “I accept the terms in the license agreement” to accept the license agreement and then click on OK.


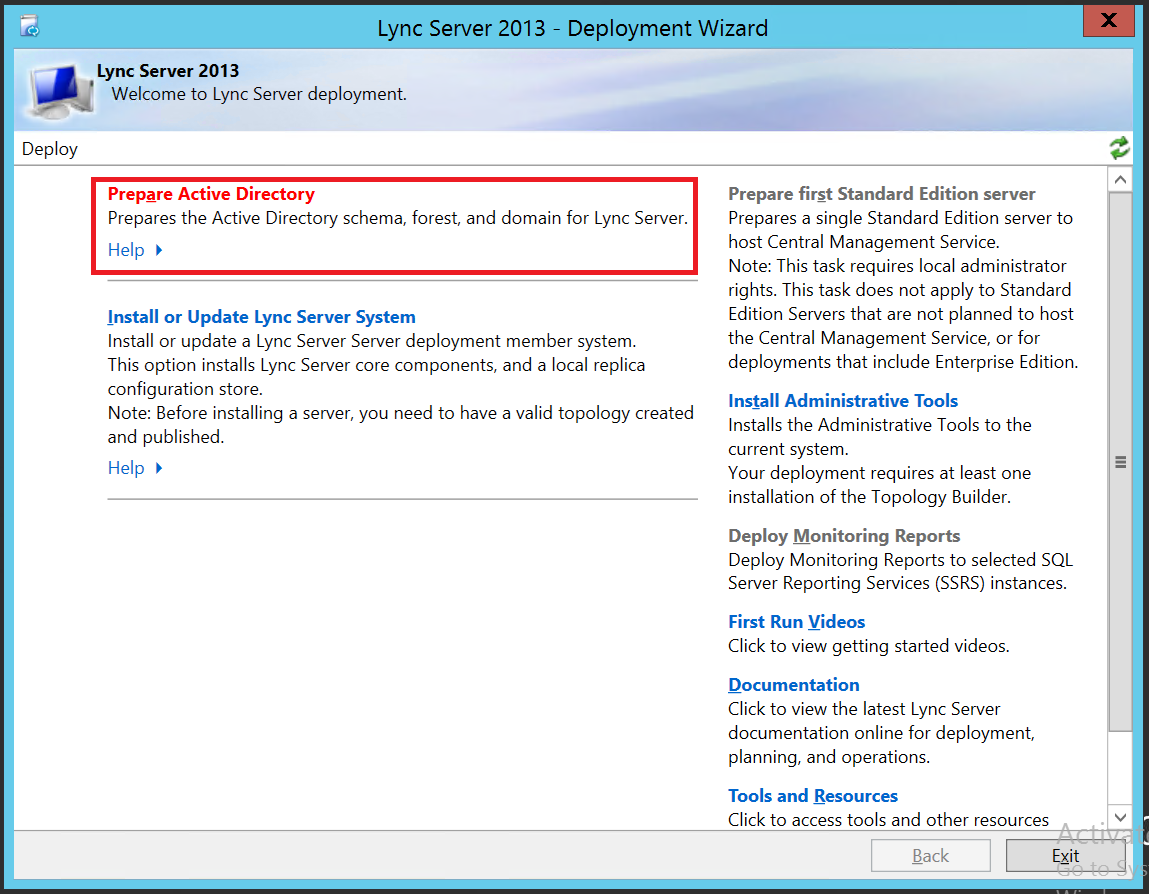
- Lync Server 2013 – Deployment Wizard – Click on “Prepare Active Directory”.

Preparing Schema for Lync 2013 Server:
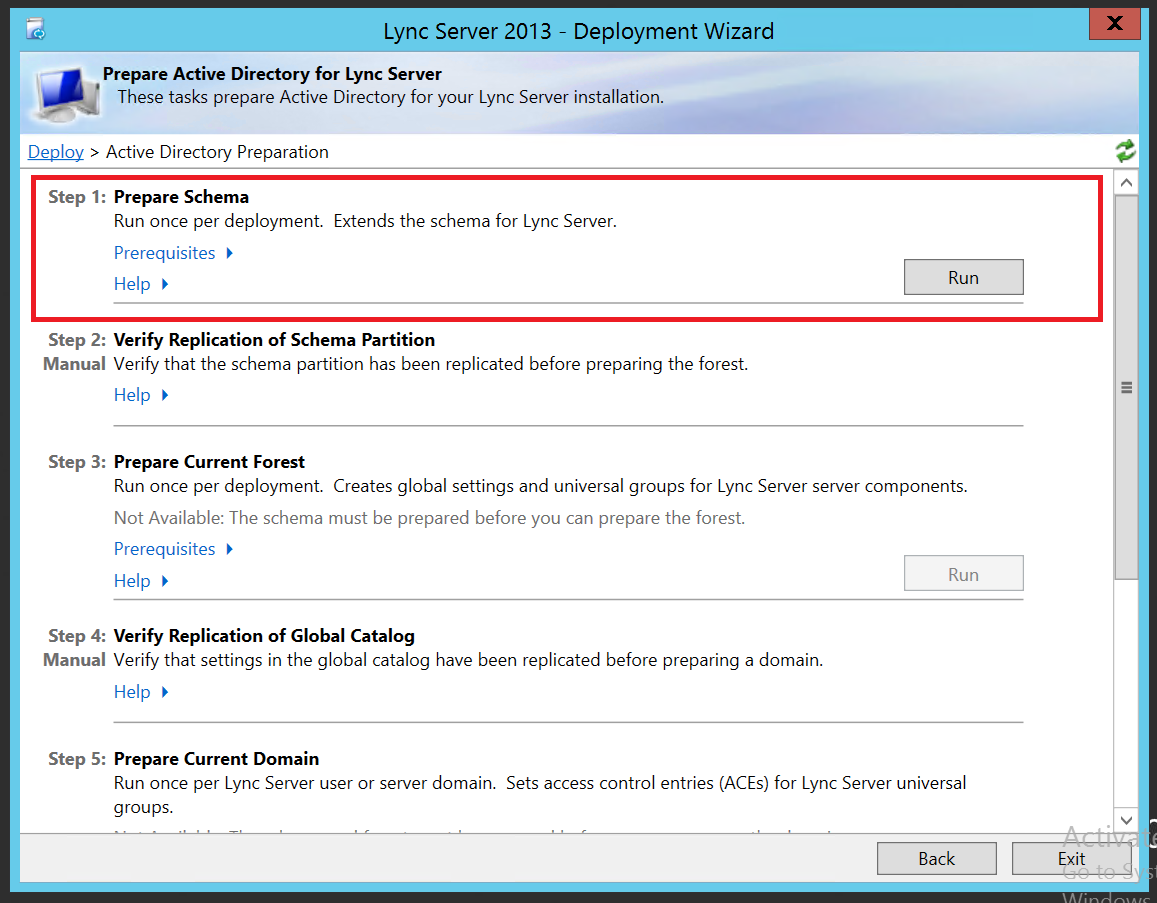
- Active Directory Preparation – Prepare Schema – Click on Run

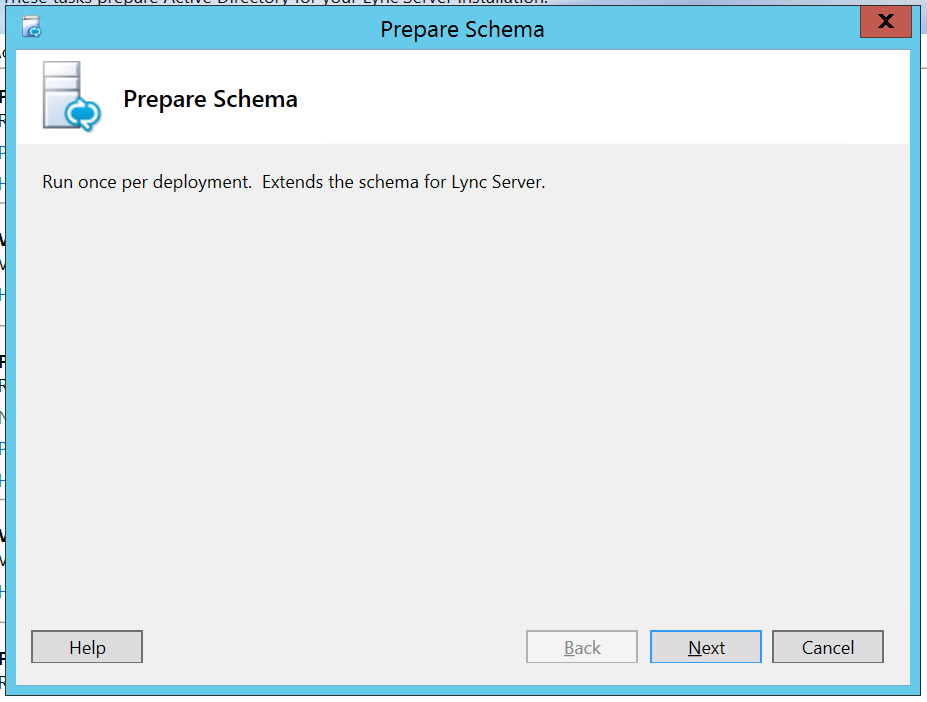
- Active Directory Preparation – Prepare Schema – Click on Next

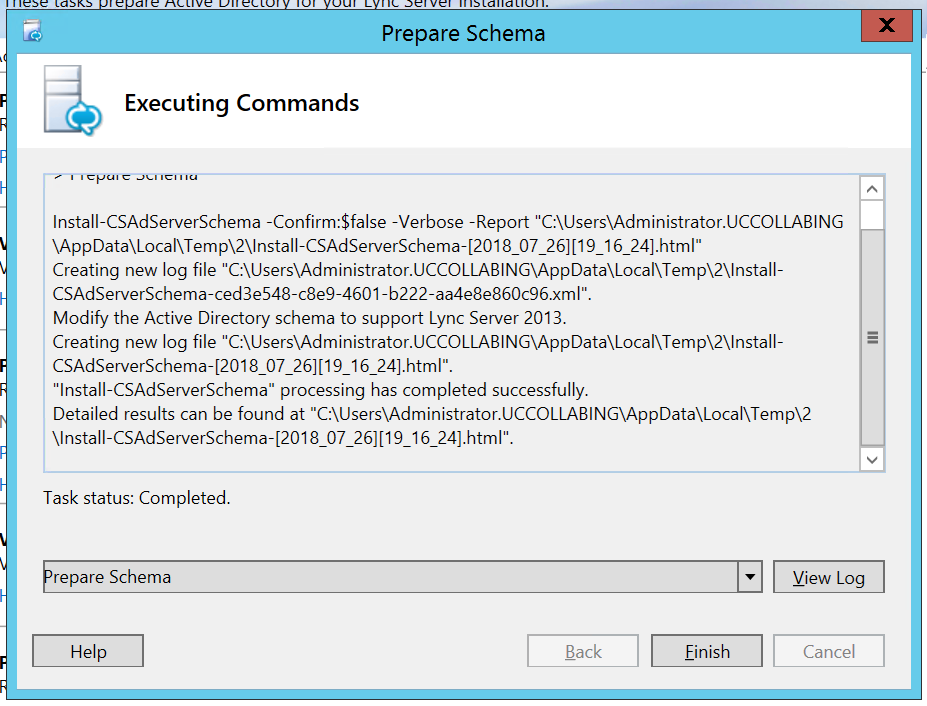
- Active Directory Preparation – Prepare Schema – Once the commands are completed executing, click on Finish

Preparing Current Forest for Lync 2013 Server:
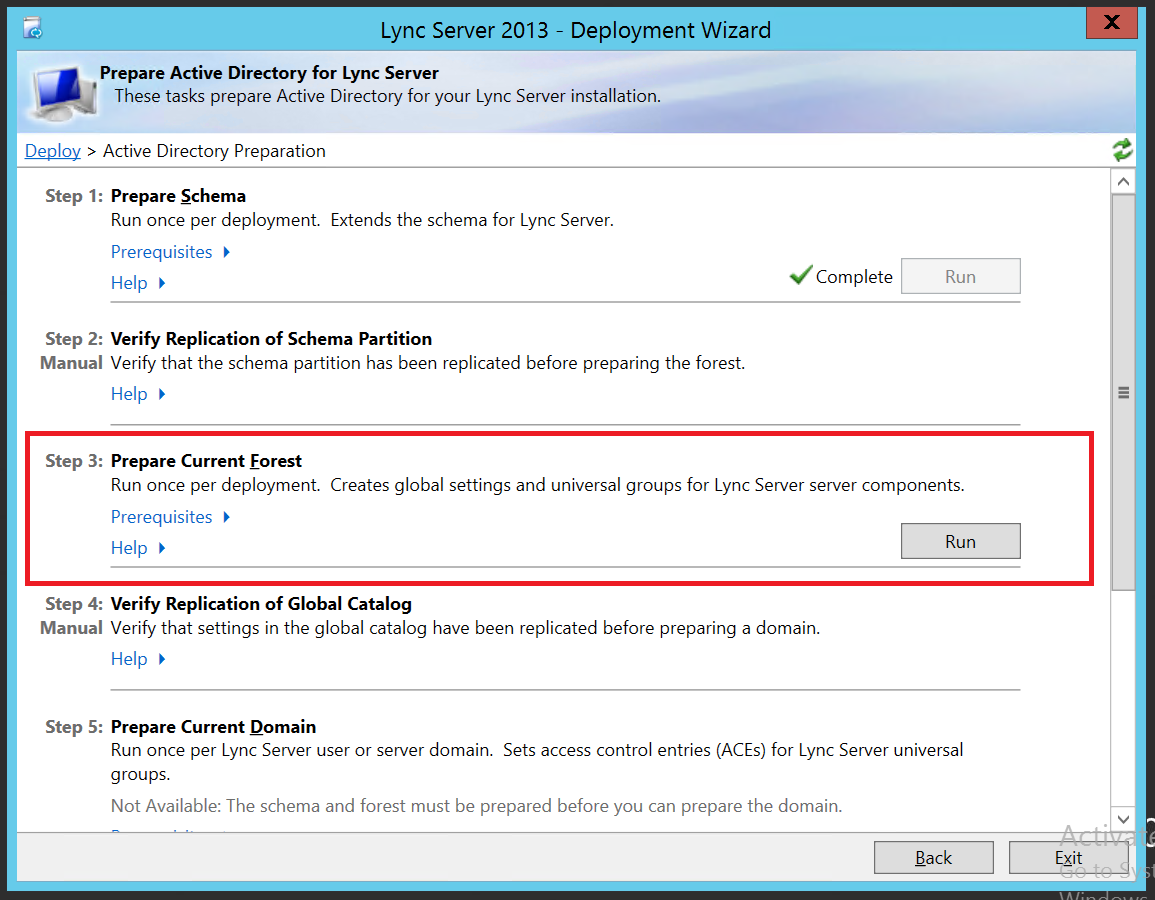
- Active Directory Preparation – Prepare Current Forest – Click on Run

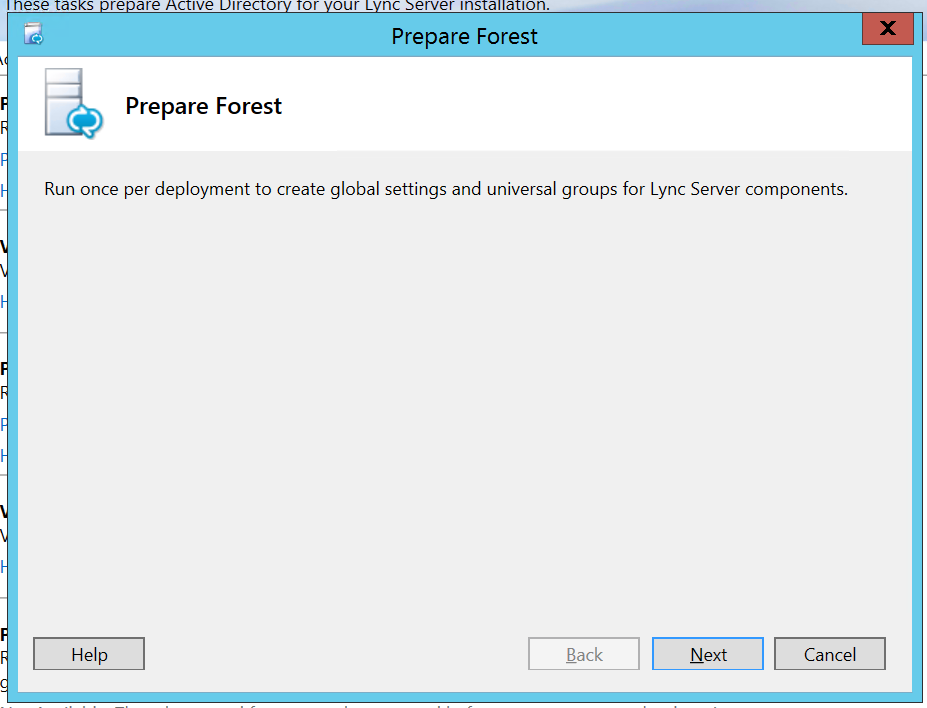
- Active Directory Preparation – Prepare Current Forest – Click on Next

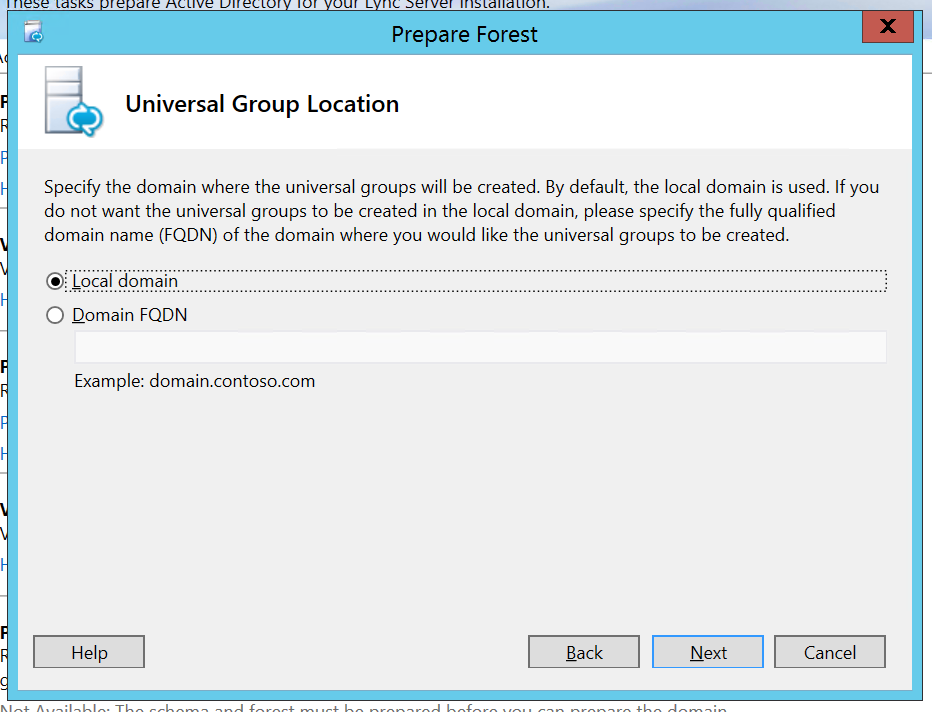
- Active Directory Preparation – Prepare Current Forest – Radio Check “Local Domain” and click on Next

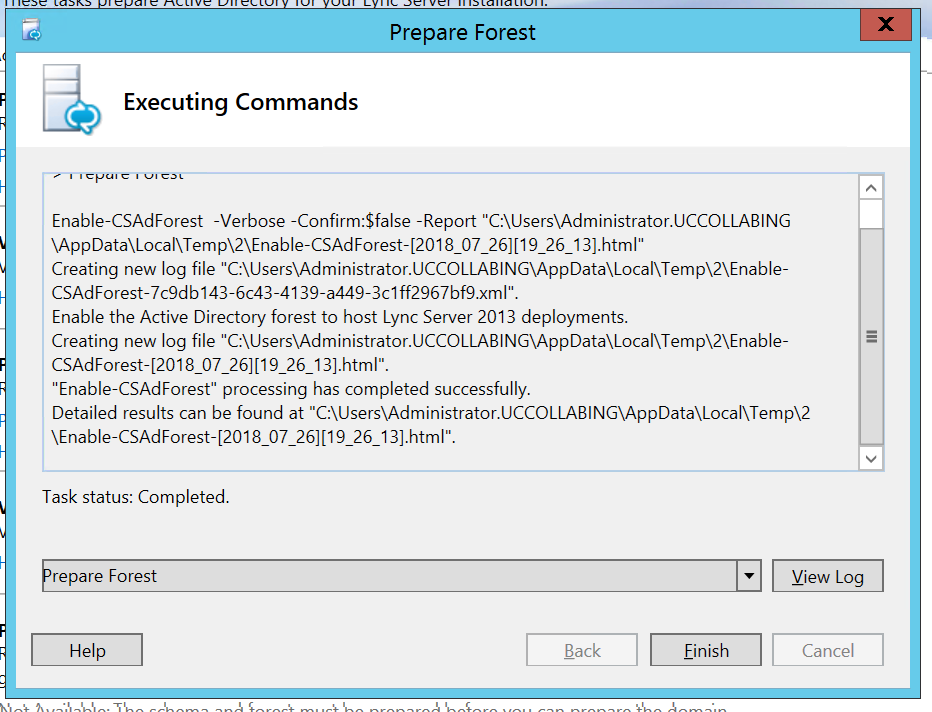
- Active Directory Preparation – Prepare Current Forest – Once the commands are completed executing, click on Finish

Preparing Current Domain for Lync 2013 Server:
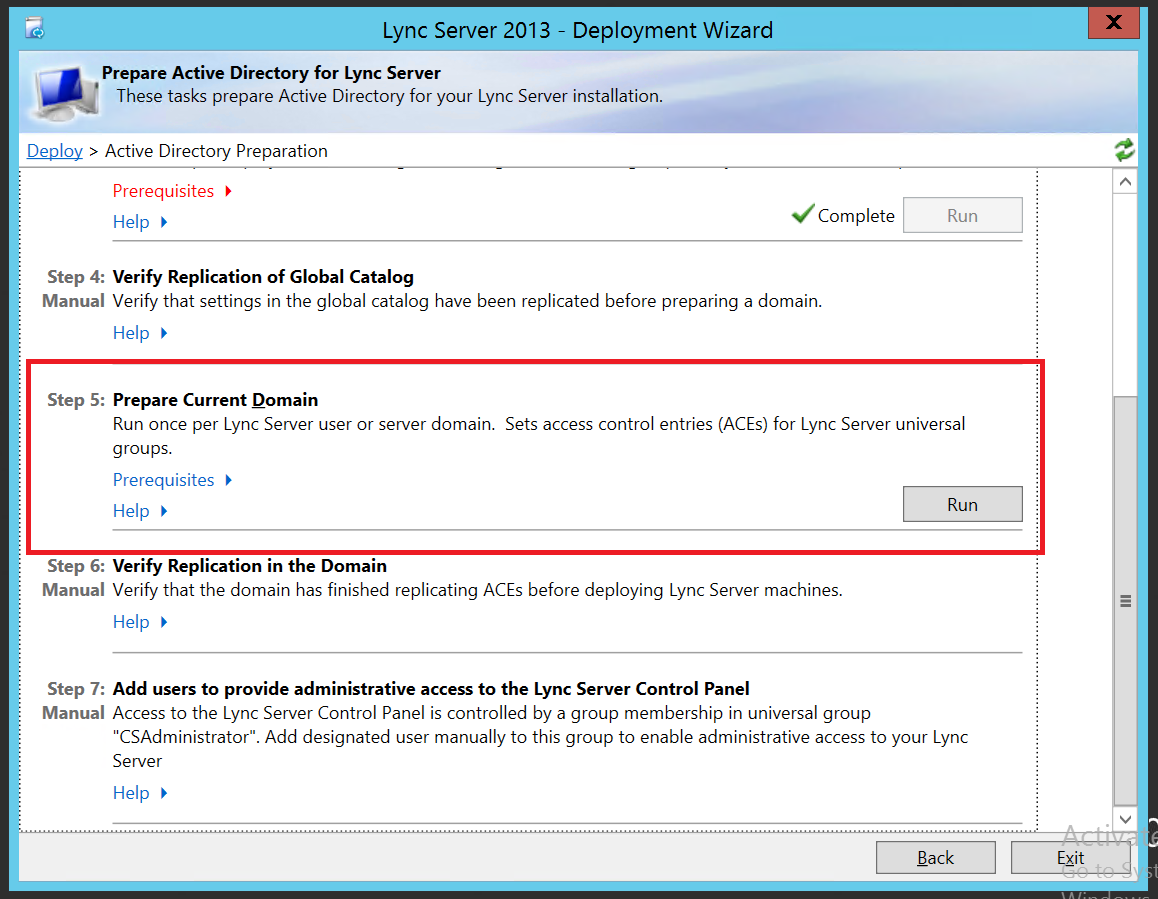
- Active Directory Preparation – Prepare Current Domain – Click on Run

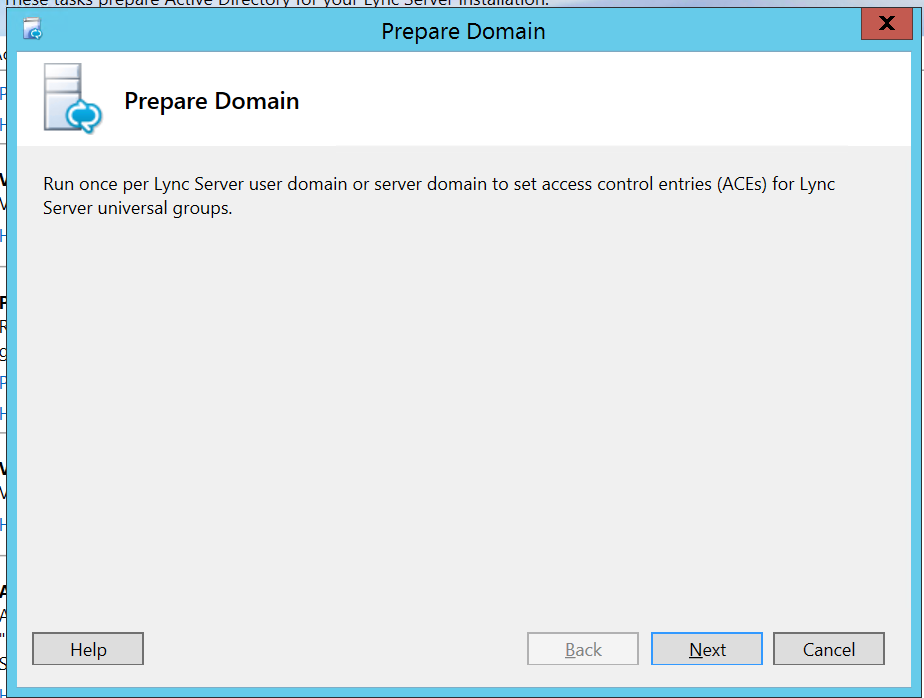
- Active Directory Preparation – Prepare Current Domain – Click on Next

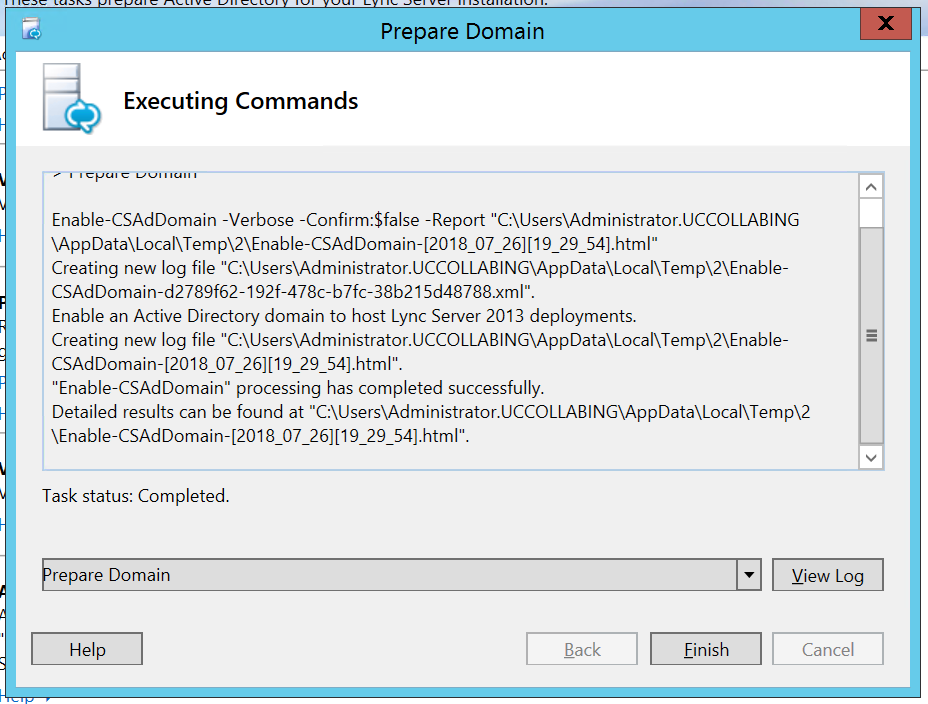
- Active Directory Preparation – Prepare Current Domain – Once the commands are completed executing, click on Finish

Adding Membership roles to Administrator account in Lync 2013 Server:
Now it’s time to add membership roles to the Administrator account.
- Login to Domain Controller Server (DC)/Certificate Authority Server (CA)
- Go to Run > Type “dsa.msc” without quotes and hit enter.
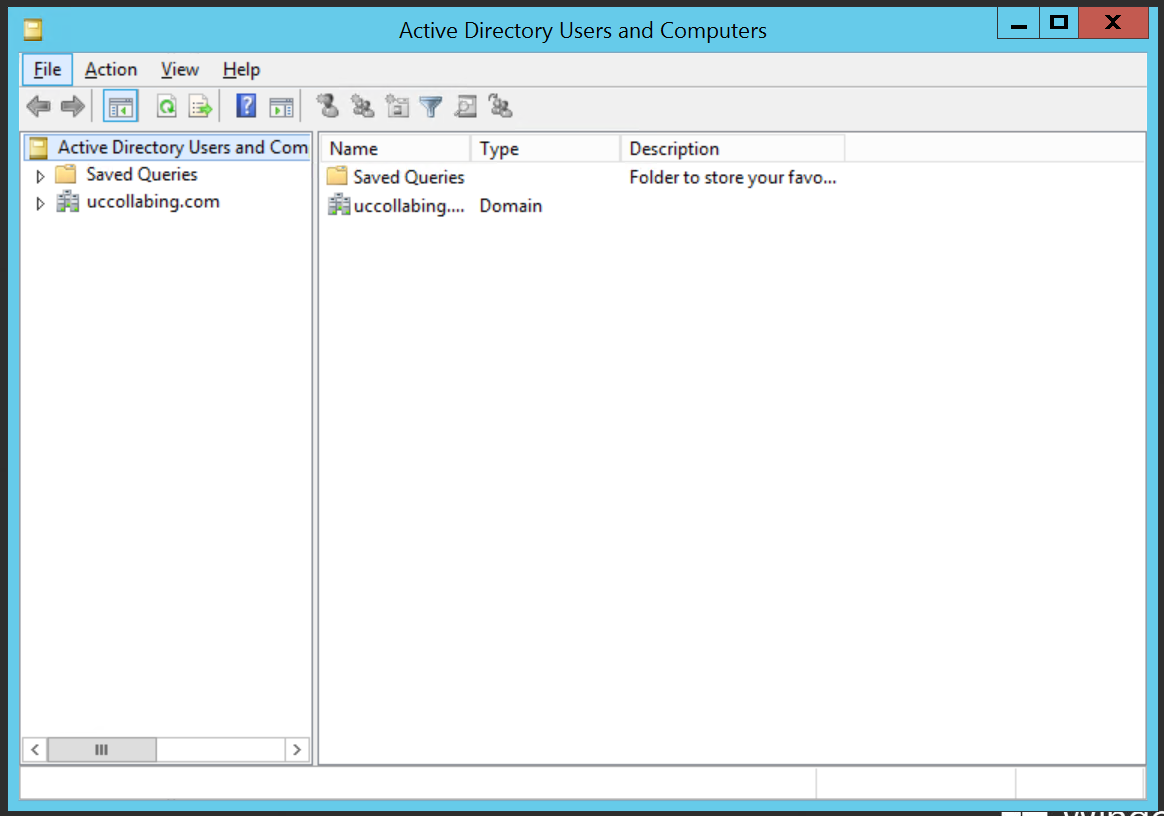
- Active Directory Users and Computers window will open

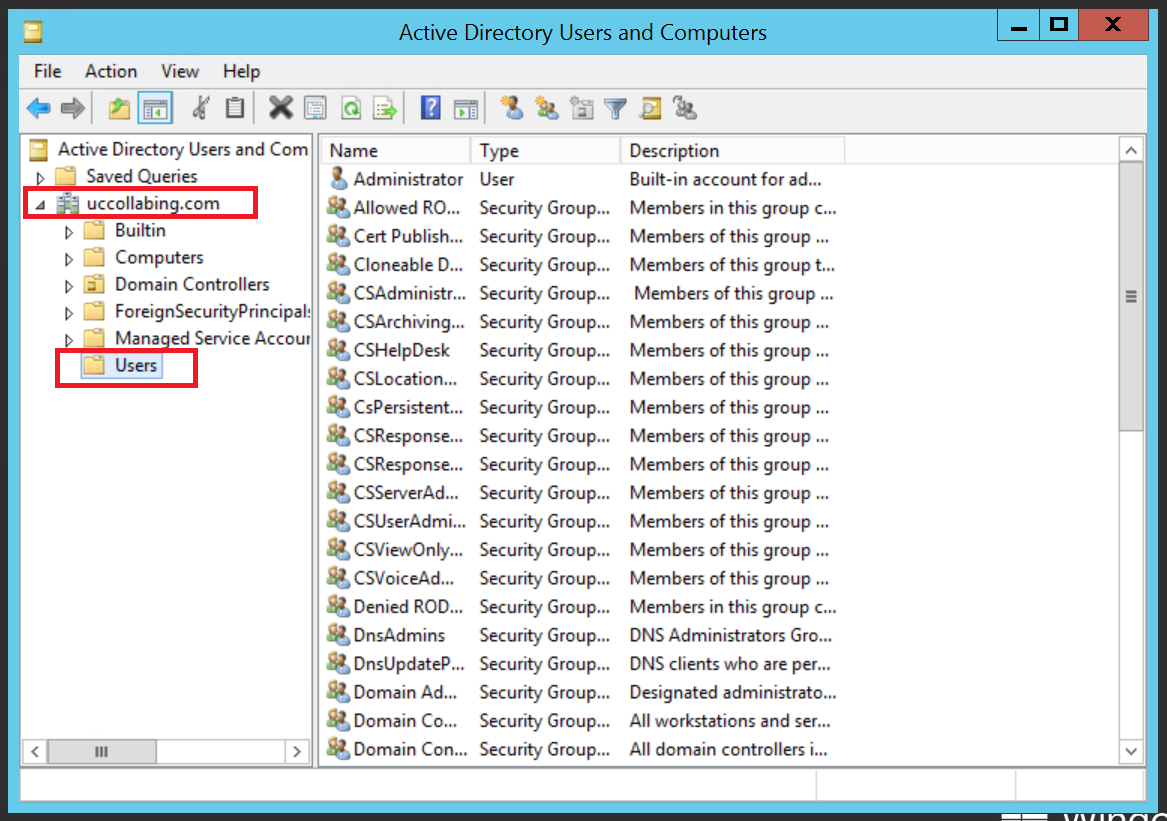
- Expand “domain.com” (In our case we will expand “uccollabing.com”), click on Users

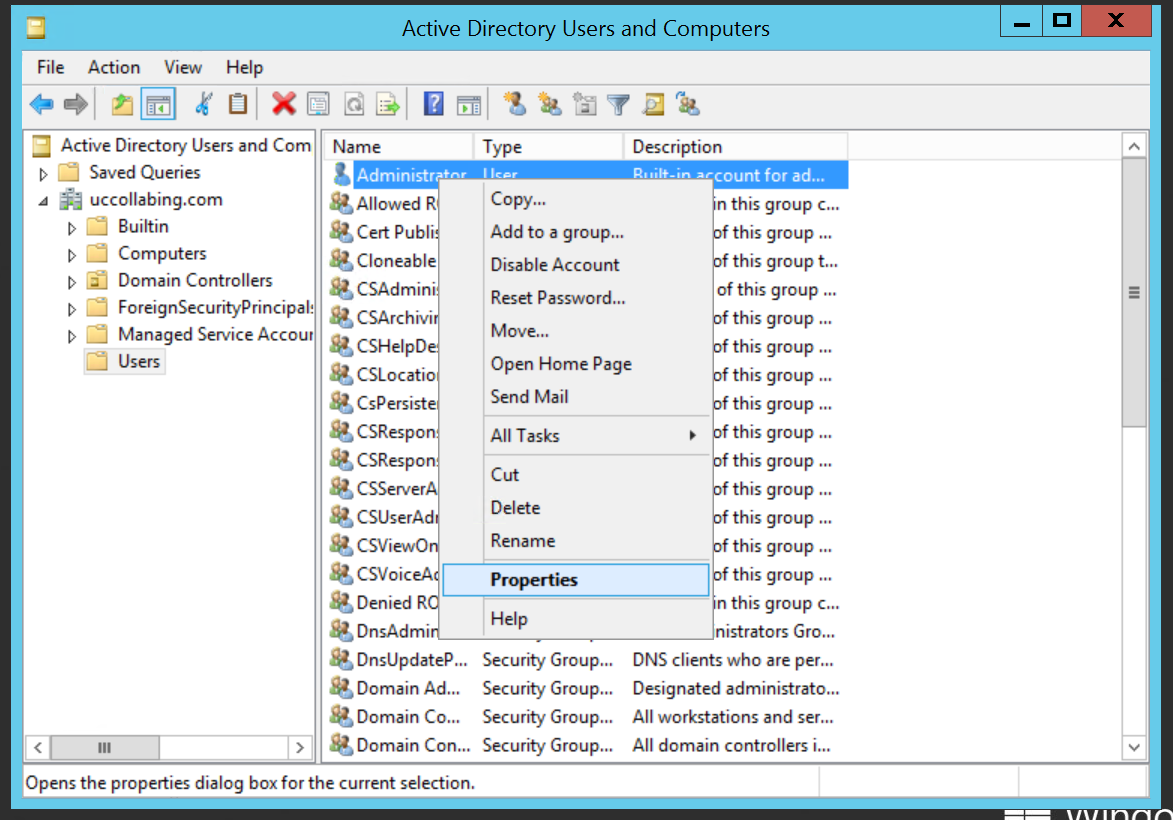
- Right Click “Administrator” user and Click on Properties

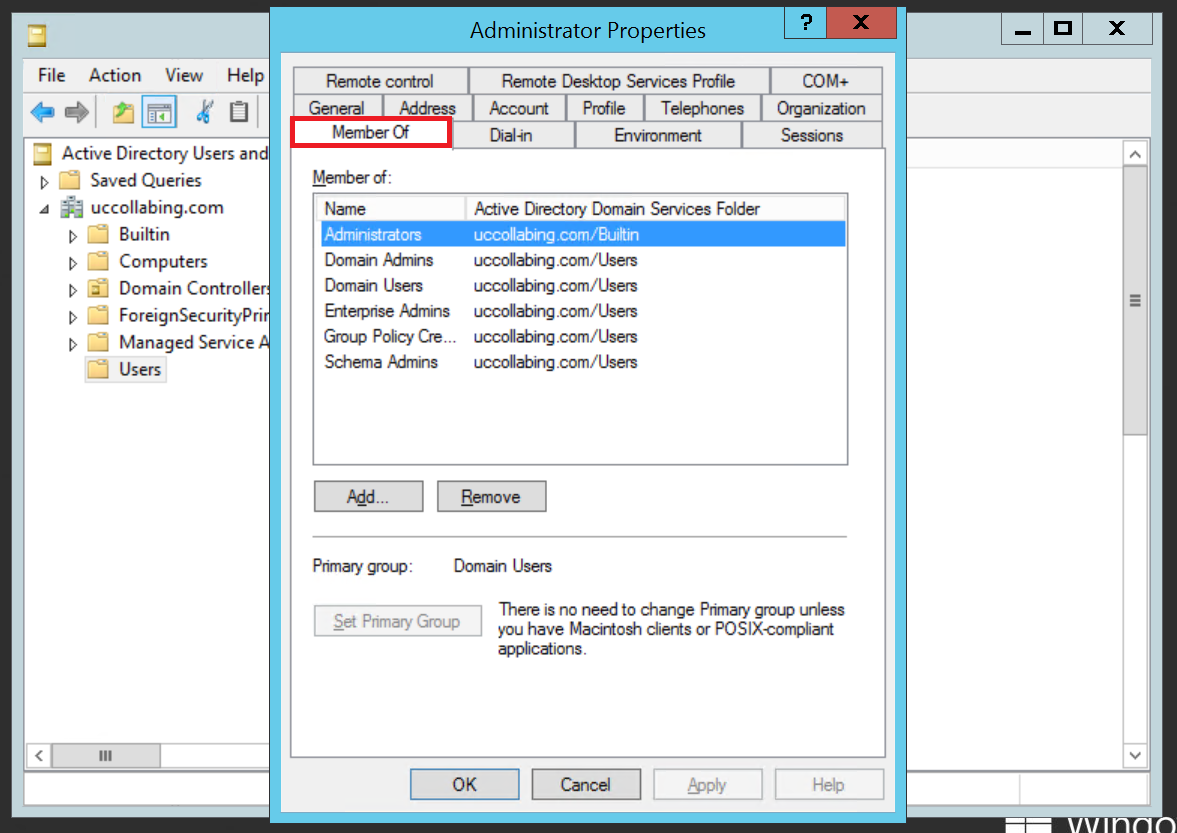
- Click on “Member of” tab

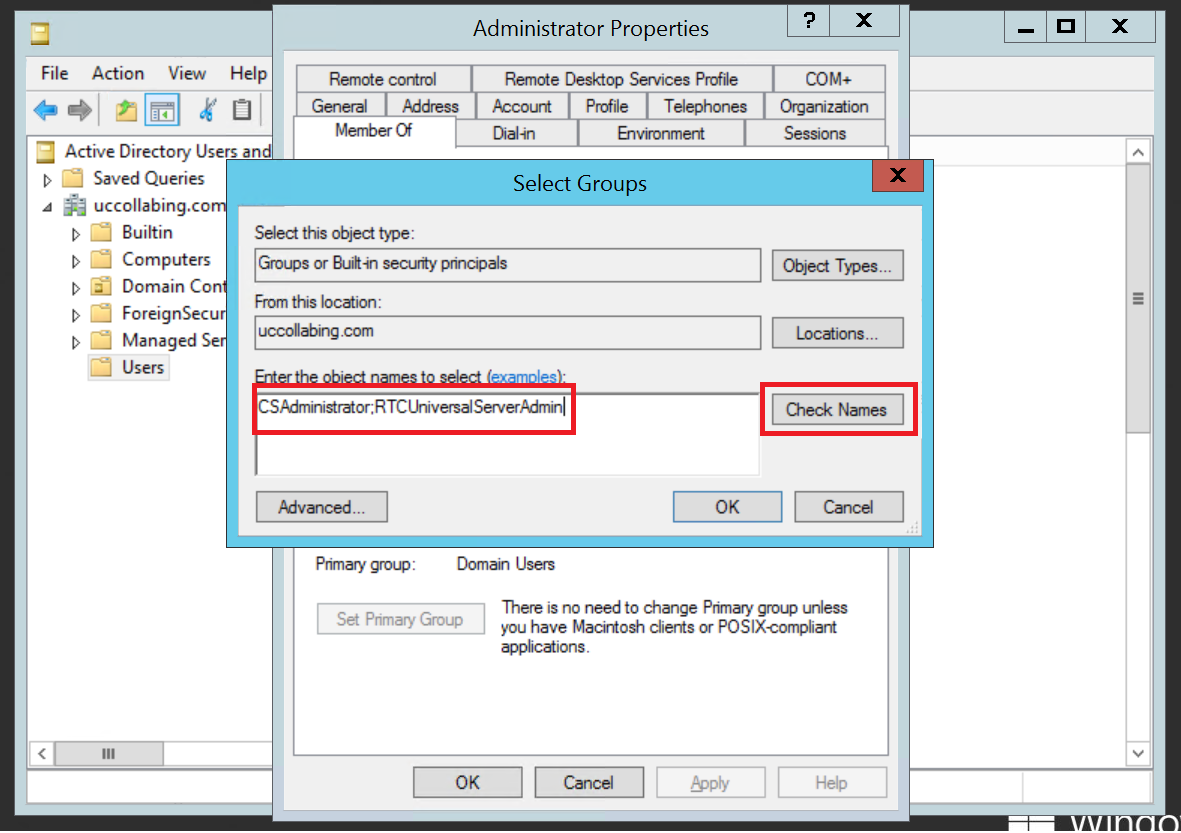
- Click on Add
- Under Enter the object names to select, type the following and click on Check Names
CSAdministrator;RTCUniversalServerAdmin
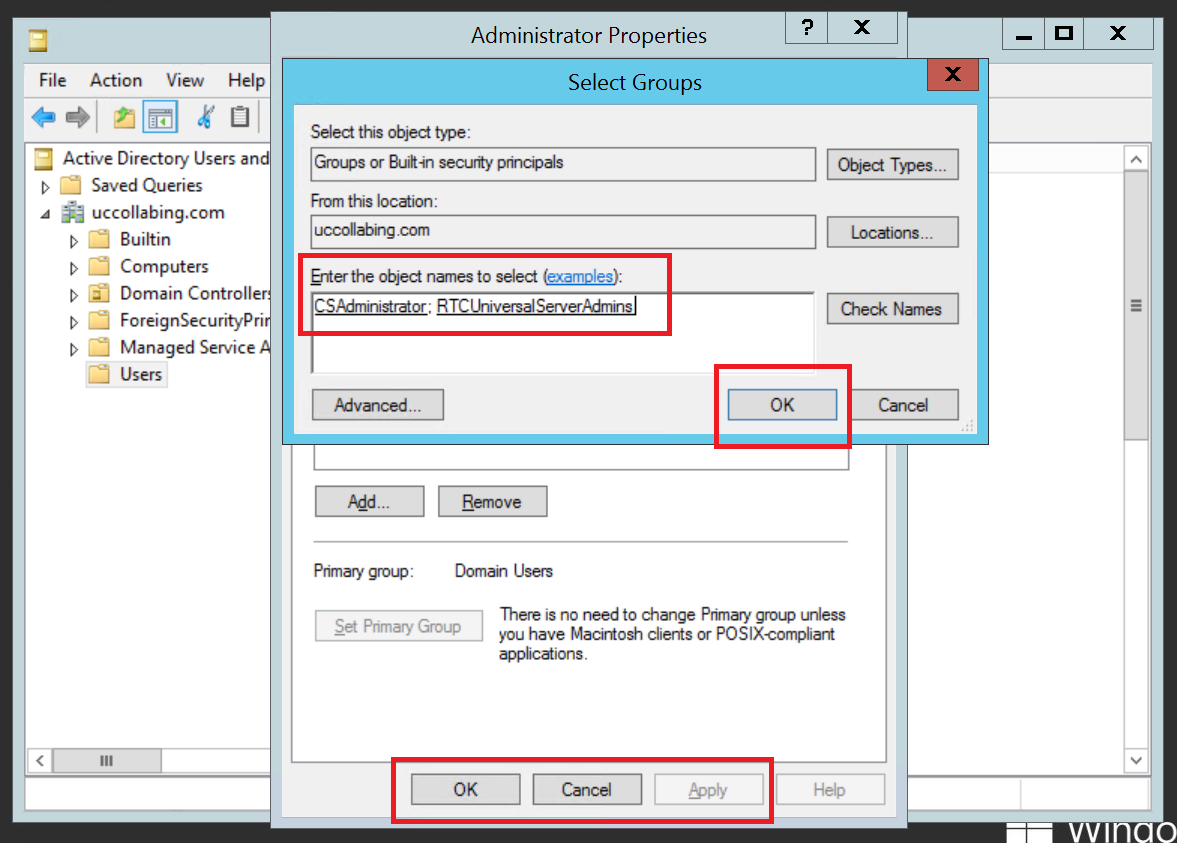
- Click on OK then Click on Apply and then click on OK

That’s all! In the next article, we will follow the installation “Prepare first Standard Edition server & Install Administrative Tools”.
Hope this helps!
Go back to – Step by Step Lync Server 2013 Installation & Configuration

I am working in an IT company and having 10+ years of experience into Cisco IP Telephony and Contact Center. I have worked on products like CUCM, CUC, UCCX, CME/CUE, IM&P, Voice Gateways, VG224, Gatekeepers, Attendant Console, Expressway, Mediasense, Asterisk, Microsoft Teams, Zoom etc. I am not an expert but i keep exploring whenever and wherever i can and share whatever i know. You can visit my LinkedIn profile by clicking on the icon below.
“Everyone you will ever meet knows something you don’t.” ― Bill Nye

Pingback: Step by Step Lync Server 2013 Installation & Configuration
I just want to say that clearly someone is putting a lot of effort into this website and I, for one, appreciate it.
Thank you Jaron, keep reading and keep following. 🙂